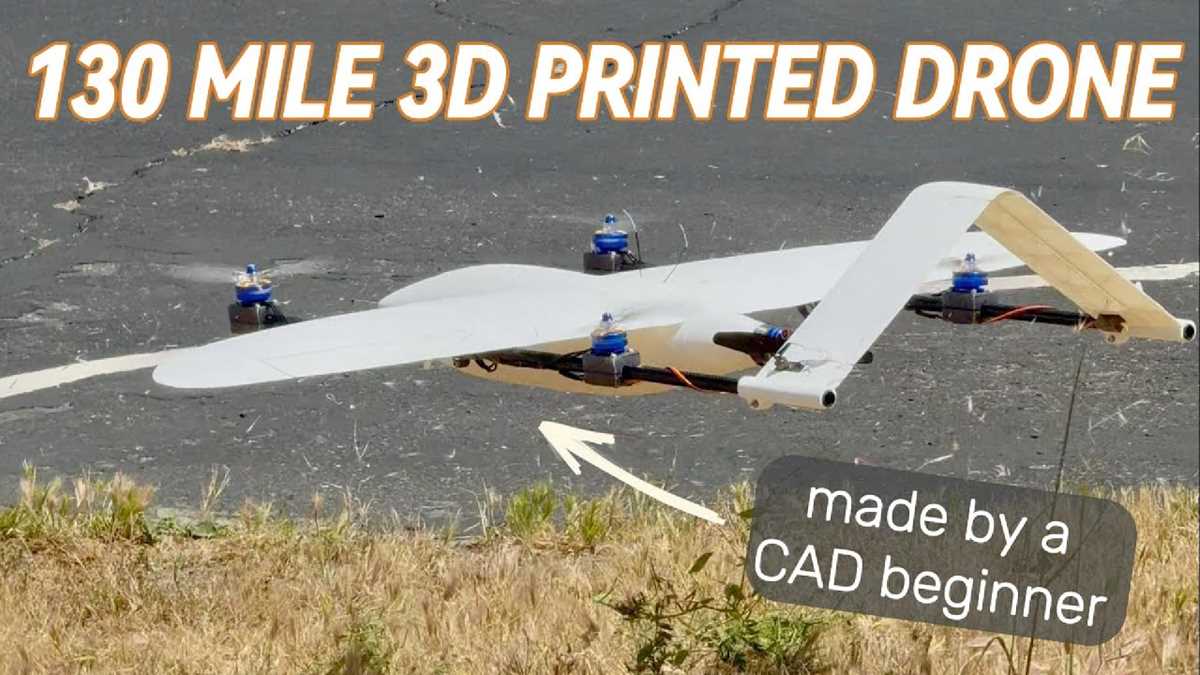
If you want to create a fully customized flying machine, 3D technology offers an excellent opportunity to design and print your own components. With access to a 3D printer, you can fabricate parts such as frames, motor mounts, and propellers to your exact specifications. The flexibility in design ensures that your project can be tailored to your unique needs, whether it’s for recreational flying or technical experimentation.
Choosing the right materials is key to ensuring your creation is both functional and durable. Commonly used filaments include PLA, ABS, and PETG, which offer a balance of strength and ease of printing. For parts that require extra durability, consider using advanced materials like carbon fiber-infused filaments, which provide greater strength without adding too much weight.
Once you’ve selected your materials, it’s time to find or create the designs. There are numerous online repositories where you can download pre-made models, but you can also create your own using software like Fusion 360 or Tinkercad. After preparing your designs, they can be sent to the 3D printer, with the print time depending on the complexity and size of the parts. Some components may take a few hours, while larger ones may require a longer printing period.
After printing, assembly is the next crucial step. Pay close attention to the alignment and connection of all parts, as improper assembly could affect the flight performance. Ensure all wiring and components are securely attached, and test each part before attempting to launch. Only once everything is securely in place should you attempt your first flight.
3D Printed Flying Machine: Building Your Own Design
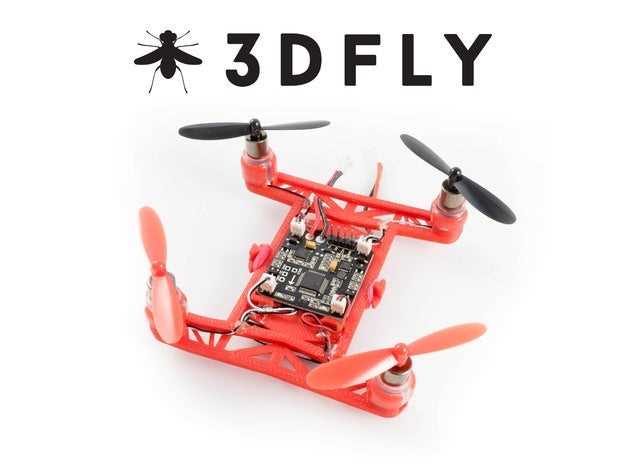
To create your own flying vehicle, start by choosing the right design and parts. You can either download pre-made files from websites like Thingiverse or MyMiniFactory, or design your own components using CAD software such as Fusion 360 or Tinkercad. The benefit of designing your own parts is the ability to customize every aspect of your machine, from the frame size to motor placement.
For optimal performance, consider using lightweight yet durable materials such as PLA or PETG. These filaments are perfect for creating the body and structural elements, as they provide enough strength without adding excessive weight. If you need additional strength, carbon fiber-infused filaments are ideal for parts that will experience stress, such as the arms or landing gear.
Once your parts are ready, assemble them carefully. Make sure all connections are tight and that moving parts such as rotors and propellers can rotate freely. Pay attention to wiring–loose connections can lead to malfunction. Check each part for alignment, ensuring that everything is balanced for stability during flight.
Test each component individually before assembling the entire structure. For instance, test the motors and propellers to ensure they spin correctly and at the right speed. Once you’re confident that all parts are working, begin the full assembly. Secure all parts tightly and double-check the wiring to avoid any issues during flight.
After assembling your vehicle, it’s time for your first test flight. Start by testing it in a spacious, open area. Begin with small test runs to fine-tune any settings like motor speed and control. As you gain confidence, you can make adjustments to enhance the performance and durability of your flying machine.
Choosing the Right 3D Printer for Parts
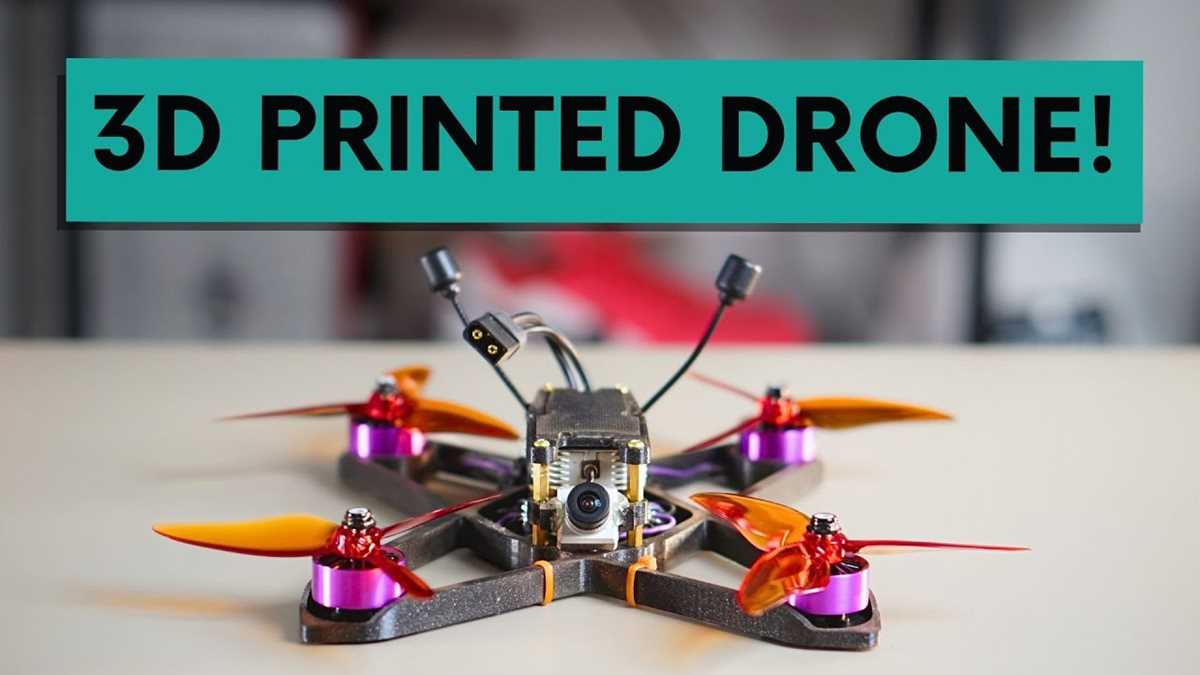
When selecting a machine to create components for your flying vehicle, start by considering the type of material you’ll be using. For lightweight, durable structures, look for a 3D printer that supports filaments like PLA, PETG, or ABS. These materials are strong enough for most parts but lightweight enough to ensure proper functionality during flight.
Look for a printer with a large build volume, especially if you’re planning to create larger parts such as the body or wings. A smaller printer might limit the size of the parts, requiring you to print them in sections and then assemble them later. Printers with larger beds, such as the Creality CR-10, can accommodate larger pieces in a single print.
Printer resolution is another factor to consider. A higher resolution means smoother surfaces and more precise details in your parts. While printers with 0.1mm resolution may be ideal for intricate parts, a 0.2mm resolution is often sufficient for more basic elements like frames or propeller mounts.
The type of extruder is also important. For high-quality prints, a direct drive extruder provides better control over the filament flow, especially when working with flexible materials. However, if you are primarily using standard filaments, a Bowden extruder might be a more affordable and suitable option.
Consider the ease of maintenance when choosing your 3D printer. Machines with user-friendly interfaces and modular components are easier to repair and maintain. The simpler the maintenance process, the less downtime you’ll experience during the building process.
If you’re looking to experiment with advanced materials, consider a 3D printer that supports composite filaments, such as carbon fiber-infused PLA or nylon. These materials are stronger and more rigid, which can be crucial for parts that undergo significant stress during flight.
In addition to material compatibility, consider the printer’s software. Some models come with proprietary slicing software, while others allow compatibility with third-party slicers like Cura or PrusaSlicer. The software you use will determine how easy it is to set your print settings and optimize your prints.
Finally, take into account the printer’s support network. Choosing a well-known brand with an active user community can be helpful when troubleshooting issues or looking for tips on improving print quality. Brands like Prusa and Anycubic have large, helpful communities and plenty of resources for new users.