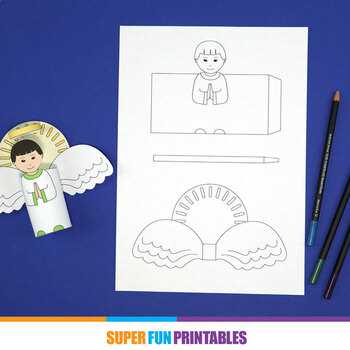
Start by selecting quality paper that is thick enough to hold its shape but flexible for easy folding. Colored cardstock or craft paper works best for detailed designs. Choose a color palette that matches the theme of your project–soft pastels for a serene effect or bright hues for a more playful look.
Next, gather a few basic tools. Scissors, a glue stick, and a hole punch are all you need for most templates. Precision cutting is key to ensuring clean edges, while a glue stick provides a smoother finish than liquid adhesives. If you’re adding decorative elements like glitter or sequins, make sure to do this after assembling the pieces.
Once you have your materials, find templates with clear outlines. These templates usually come with multiple pieces that can be cut out and assembled to form the figure. Follow the guidelines closely, especially if you’re working with intricate designs. For a more personalized touch, consider adding custom elements like hand-drawn features or embellishments.
Finally, consider the setting where your paper figure will be displayed. Adding additional details such as small fabric wings or a glittery halo can enhance the overall look. Whether you’re creating a holiday centerpiece or a decorative piece for a special occasion, taking time to carefully assemble and decorate will result in a stunning and memorable creation.
Creative Ideas for Making Paper Figurines
One idea is to design a simple yet elegant paper figure using colored cardstock. You can print out a template with clear outlines of wings, a gown, and other details. After cutting out the pieces, glue them together to create a lifelike figure with layered features. To add dimension, use a folding technique on the wings to give them a 3D effect.
If you’re looking for something more intricate, consider adding detailed patterns or textures. For example, use embossing techniques on the body or wings, or add glitter for a shimmering effect. This can elevate a basic design into a more ornate, festive piece for special occasions.
Another idea is to combine materials like fabric or felt with paper. You can cut out a paper template for the body and then add a felt halo or fabric wings. These additional materials will provide a contrast to the paper, making your figure stand out even more. This approach works well if you want a soft, textured appearance for your design.
For a more interactive project, consider making movable parts. Attach the wings to the body using a paper fastener, allowing them to flap open and closed. This adds a playful, dynamic element to the figure, especially for young crafters or as a classroom project.
To make your design truly personalized, add small embellishments like beads or buttons for the eyes, or use markers to draw fine details on the face and dress. These small touches can make a big difference, transforming a basic template into a unique, customized creation.
Lastly, consider using your paper figure as part of a larger scene. You could create a holiday-themed diorama or a display where multiple figures are arranged in a decorative pattern. This approach allows you to combine different sizes and styles of figures, making your project both visually interesting and cohesive.
Choosing the Right Materials for Paper Figurine Projects
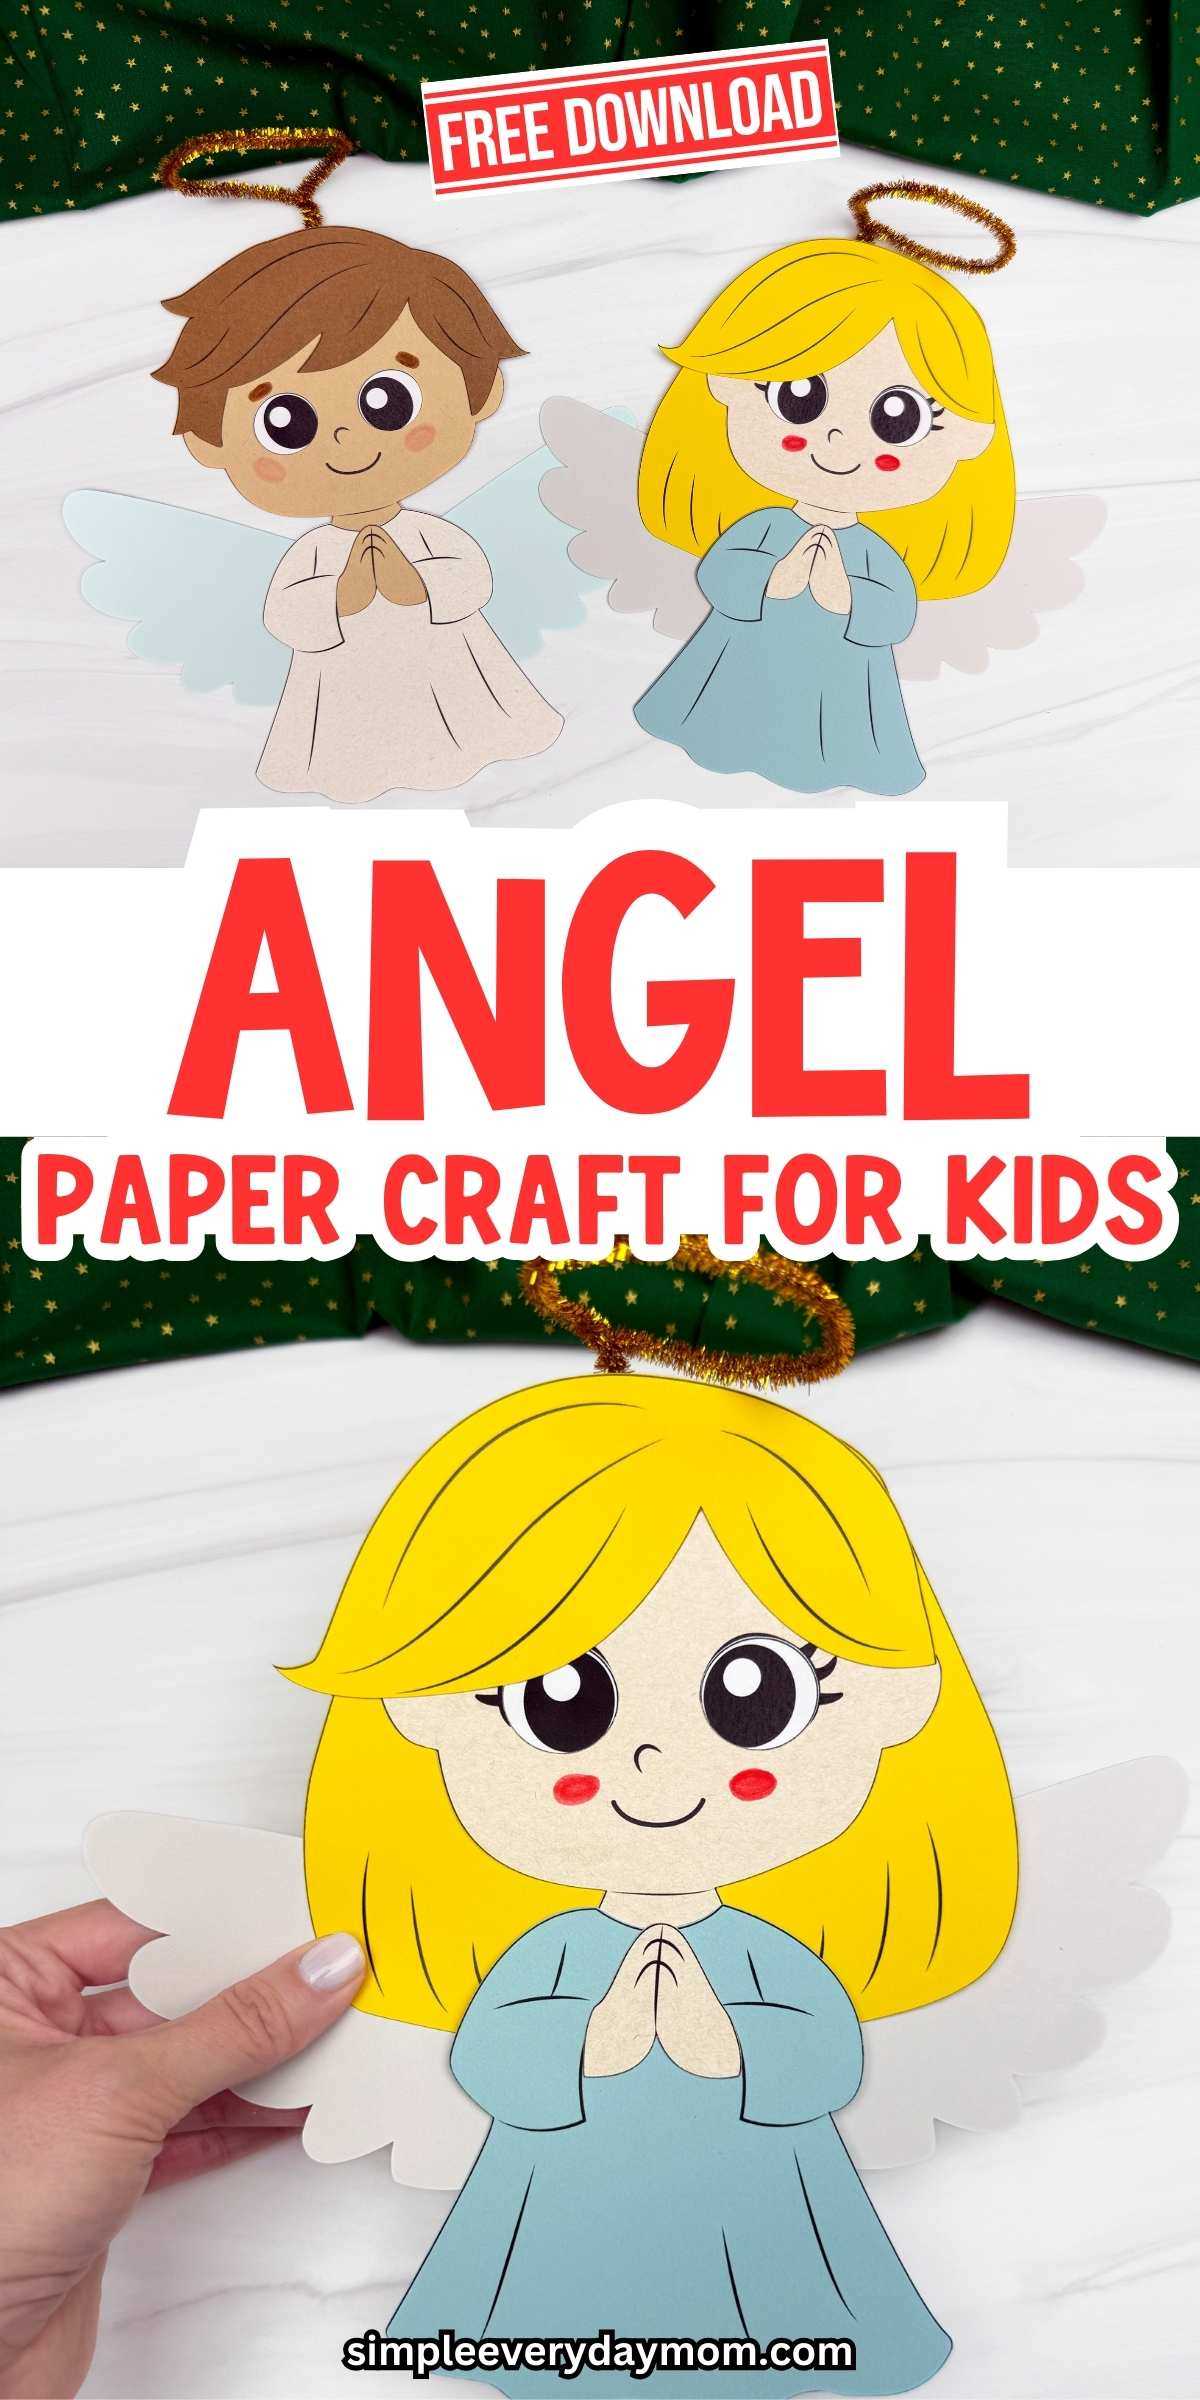
Start with high-quality paper, ideally 160-220 gsm, to ensure durability without being too stiff. Thicker paper will maintain its shape after cutting and folding, while still being flexible enough for detailed designs. Opt for smooth-textured paper for clean lines and precision when cutting.
If you’re planning to add color to your figure, colored cardstock is a great choice. It’s available in a variety of hues and offers a matte finish that looks polished. Make sure the color scheme complements the theme of your design, whether it’s bright shades for a lively creation or soft pastels for a more serene look.
For added visual appeal, consider using metallic or glitter-infused paper for the accents, such as wings or halos. These materials will make specific parts of your project stand out and can be especially striking when the light catches them. Keep in mind that these papers may require more care when handling due to the additional texture.
When assembling the pieces, select a strong, non-liquid adhesive. A glue stick or double-sided tape works well for paper-based projects, as they dry quickly and leave minimal residue. For more intricate parts, such as smaller cutouts or layered designs, liquid glue with a fine-tip applicator offers greater precision.
If you want to add depth or texture, consider using felt or fabric for certain components. Fabric is ideal for details like clothing or wings and adds an element of softness to the design. Use fabric glue to attach these materials securely to the paper and avoid visible glue marks.
For additional embellishments, small beads, buttons, or sequins can be used to enhance specific features such as eyes or decorative borders. These elements provide a tactile contrast to the flat paper and give your creation a more polished, finished look. Ensure the embellishments are lightweight to prevent weighing down the paper structure.
Tools like precision scissors, a craft knife, and a hole punch are invaluable for cutting out intricate shapes and adding finishing touches. A cutting mat will protect your work surface and help achieve clean cuts, especially when working with delicate or intricate designs.
Finally, when you’ve finished your design, consider using a matte or gloss finish spray to protect the surface from damage. This will seal your creation and ensure it lasts longer, especially if you plan to display it for an extended period.