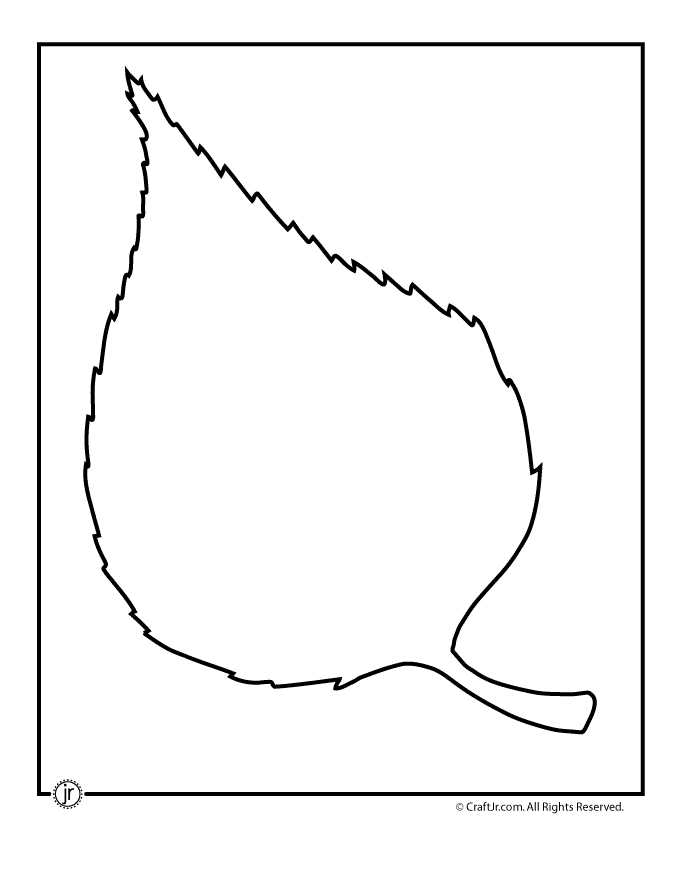
Choose high-resolution outlines in A4 or US Letter format with a minimum of 300 DPI to ensure clean edges for cutting and tracing. Select sets that include oak, maple, birch, and chestnut silhouettes in multiple sizes–from 5 cm mini cutouts to full-page formats–so one file can serve classroom boards, window décor, and detailed coloring tasks. Vector-based PDFs are preferable because they scale without losing sharpness.
For preschool activities, use bold contour versions with 3–4 mm thick lines and simplified veins to make coloring easier and reduce tearing during scissor practice. For elementary grades, opt for detailed vein structures and segmented sections that allow color-by-number or symmetry exercises. Printing on 160–200 gsm cardstock improves durability for reusable stencils, while standard 80 gsm paper works for single-use art sessions.
When preparing décor elements, adjust printer settings to “actual size” rather than “fit to page” to preserve proportions, especially for species recognition tasks. Arrange multiple silhouettes per sheet to reduce paper waste; a layout of six medium shapes per page balances material savings with cutting comfort. For textured projects, transfer the outline onto kraft paper, felt, or thin foam sheets to create layered garlands and bulletin board compositions.
Organize files by species and size to simplify lesson planning and themed events. Store digital copies in labeled folders (e.g., “Maple_Large_A4” or “Oak_Small_USLetter”) and keep a printed master set in protective sleeves for quick photocopying. This approach reduces preparation time and ensures consistent results across craft sessions, seasonal displays, and educational worksheets.
Autumn Foliage Shape Templates for Crafts and Decorations
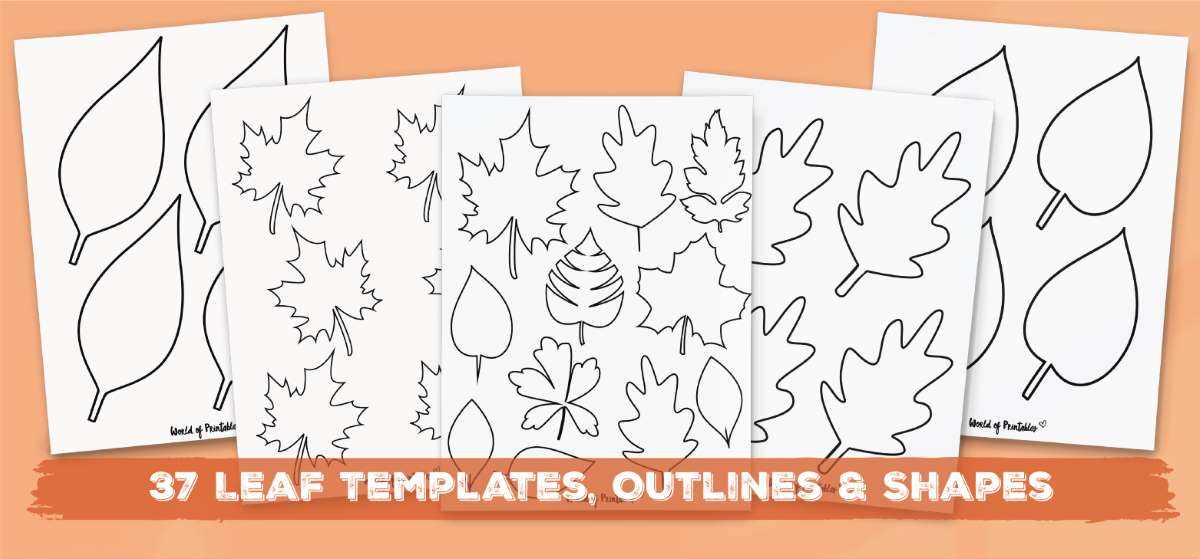
Choose high-contrast foliage outlines in A4 or US Letter size with clean 1–2 pt stroke thickness for precise cutting and tracing. For classroom crafts, select sets that include maple, oak, birch, and chestnut silhouettes in three scale options (8 cm, 12 cm, 18 cm height) so they fit greeting cards, garlands, and window displays without resizing. Use 200–250 gsm cardstock for freestanding décor and 90–120 gsm paper for layering on posters.
For wall décor, print large canopy silhouettes at 120–150% scale and cut from 160 gsm matte stock to prevent curling under glue. Arrange them in clusters of five to seven pieces with 3–5 cm overlap to create depth on bulletin boards or shop windows. Add vein details using a 0.3 mm fineliner before cutting to avoid ink bleeding along edges.
For table settings, reduce small twig and foliage forms to 6–9 cm and print on textured kraft paper. Punch a 3 mm hole near the stem and attach jute twine to create place cards. If using metallic accents, apply adhesive foil after cutting to keep edges crisp. Laminate pieces with 80-micron pouches for reusable name tags.
For children’s activities, select simplified silhouettes with wide lobes and minimal serration to lower cutting difficulty. Provide pre-scored fold lines for 3D centerpieces: score lightly with a blunt tool, fold along the midrib, and glue two mirrored shapes back-to-back for a standing form. Use washable tempera for sponge dabbing and restrict paint to 2–3 tones to prevent oversaturation of thin paper.
For fabric projects, transfer outlines onto felt using tailor’s chalk and cut with micro-serrated scissors to avoid fraying. Stabilize thin cotton with lightweight fusible interfacing before stitching appliqués onto cushion covers or tote bags. Maintain seam allowances of 3–5 mm around complex lobes to preserve contour accuracy.
For reusable décor, convert selected silhouettes into cutting files for vinyl or acetate. Test cut at 300 mm/s with 60–80 gf pressure on standard craft cutters to keep tips intact. Store finished pieces flat between cardboard sheets to prevent warping, and label by species and size for quick seasonal rotation.
How to Resize Fall Leaf Patterns Printable Files for Different Craft Formats and Paper Sizes

Set the document scale to an exact percentage instead of dragging the image manually. In Adobe Reader or similar PDF viewers, disable “Fit” and choose “Custom Scale,” then enter 75%, 125%, or any precise value required for your project. For example, reducing a US Letter design (8.5 × 11 in) to fit A5 requires scaling to 71% while keeping proportions locked. This prevents distortion and keeps stem widths and contour details intact.
Match the canvas to the target sheet before resizing artwork. For A4 (210 × 297 mm), configure margins to at least 10 mm to avoid printer clipping. If converting from Letter to A4 without cropping, scale to 94% and center the motif. For square craft bases such as 6 × 6 in cards, create a 6 × 6 in page setup in your editor, then proportionally scale the autumn foliage template until the longest edge fits within 5.5 in, leaving 0.25 in bleed on each side.
Maintain aspect ratio at all times. Disable any “stretch to fill” or “fill entire page” options. A maple outline widened by only 8–10% horizontally will produce visibly unnatural lobes. Lock width and height proportions in the size panel of tools like Canva, Illustrator, or Affinity Designer. If resizing raster images (JPEG or PNG), ensure resolution remains at least 300 DPI after scaling; if a 2400 × 3000 px graphic is reduced to 50%, the output becomes 1200 × 1500 px, which still supports high-quality 4 × 5 in prints.
Adjust line thickness separately when scaling down for small crafts such as gift tags (2 × 3 in). After reducing to 40–50%, increase stroke weight by 0.5–1 pt so cut lines remain visible. For cutting machines like Cricut or Silhouette, convert strokes to outlines before resizing; this preserves consistent cut paths and avoids hairline errors during export to SVG or DXF.
Use tiled printing for oversized décor. If the botanical motif needs to span 18 × 24 in foam board, activate the “Poster” or “Tile” option in the print dialog and set overlap to 0.5 in for easier alignment. A standard A4 printer will divide the artwork across 6–8 sheets; trim margins precisely along crop marks before taping sections together on the reverse side.
Calibrate for specialty materials. Cardstock above 250 gsm feeds less accurately, so reduce scale by 1–2% to compensate for slight border shifts. For fabric transfers, mirror the design horizontally prior to resizing and printing. When preparing stencils for wood panels, enlarge the autumn foliage template to 110–130% and increase internal cut bridges to at least 3 mm width to prevent tearing.
Verify dimensions with a printed test square. Add a 1 in or 2 cm reference box to the corner of the design before exporting. After printing, measure it with a ruler; if it reads 0.95 in, adjust scaling to 105% and reprint. This quick calibration step ensures every resized seasonal outline fits frames, cards, scrapbooks, and wall art bases with millimeter-level accuracy.