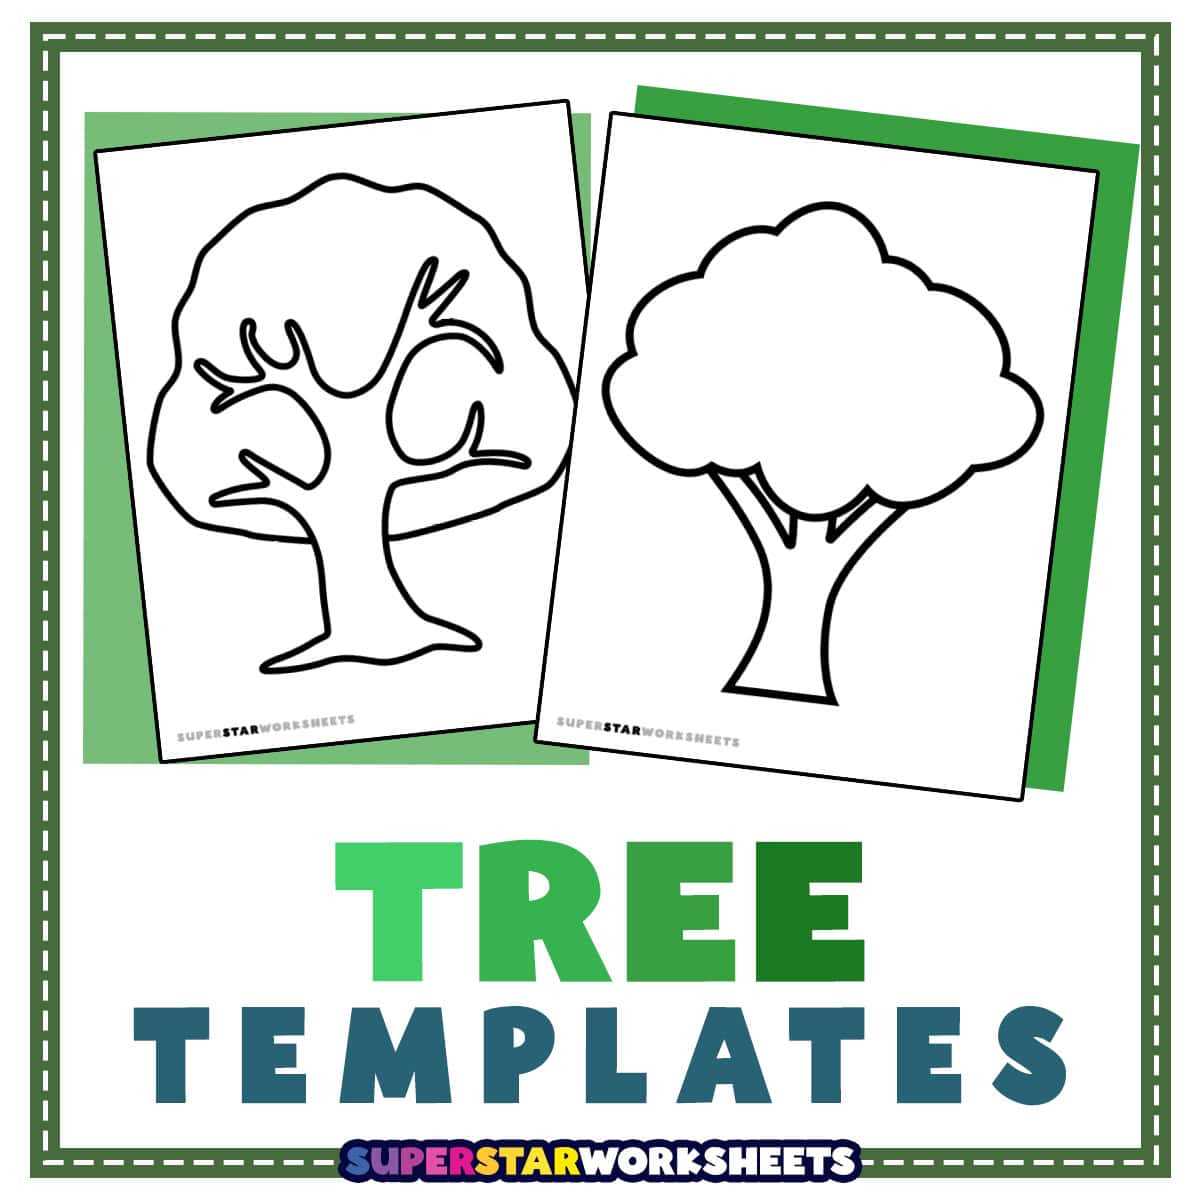
Start by downloading a high-resolution model that fits the size and detail you need for your project. For sturdiness, use thicker paper or card stock. Ensure your printer settings match the dimensions and orientation for an accurate printout.
Once printed, carefully cut out the pieces along the lines. If the model includes multiple sections, make sure each part is aligned correctly before gluing. A sharp pair of scissors or a craft knife can help with more intricate details. For smooth and accurate folds, use a bone folder or ruler along score lines.
After assembling the main sections, consider enhancing the design. Use colored pencils, markers, or even textured materials like felt or fabric to give the model a more realistic appearance. Adding details like knots or bark patterns will elevate the visual appeal.
Step-by-Step Guide to Printing and Assembling a Tree Base Model
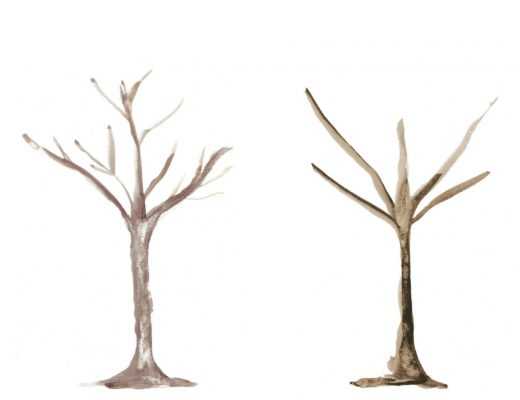
Begin by selecting the desired model and printing it on high-quality, thick paper for better structure. Adjust the print settings to match your preferred size and ensure the design fits well on the page. If necessary, print multiple sections on separate sheets of paper. Cut out all parts carefully, using a sharp pair of scissors or a craft knife for precision.
Once you have all the pieces cut, start assembling the model by following the fold lines and using glue or double-sided tape for secure attachment. Begin with the central sections and work outward, allowing each part to dry before attaching the next. For stability, reinforce the base by adding a thicker layer of paper or cardboard. After assembly, use markers or colored pencils to add details like textures or markings for added realism.
Creative Ways to Use a Tree Base Design in Classroom Activities
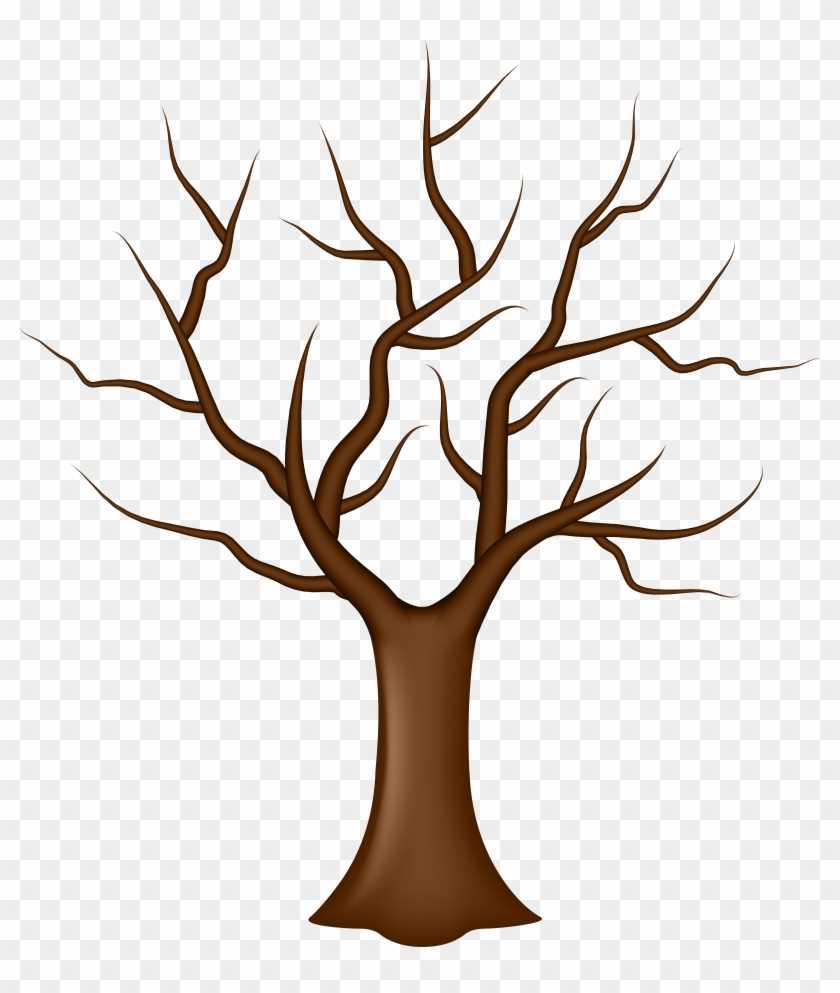
Use the design to teach students about plant biology by focusing on the anatomy of a plant. Have students label different parts like the bark, roots, and branches, helping them visualize how each part contributes to the overall structure. This can be expanded into a lesson on the lifecycle of a plant, linking the model to stages like seed germination and growth.
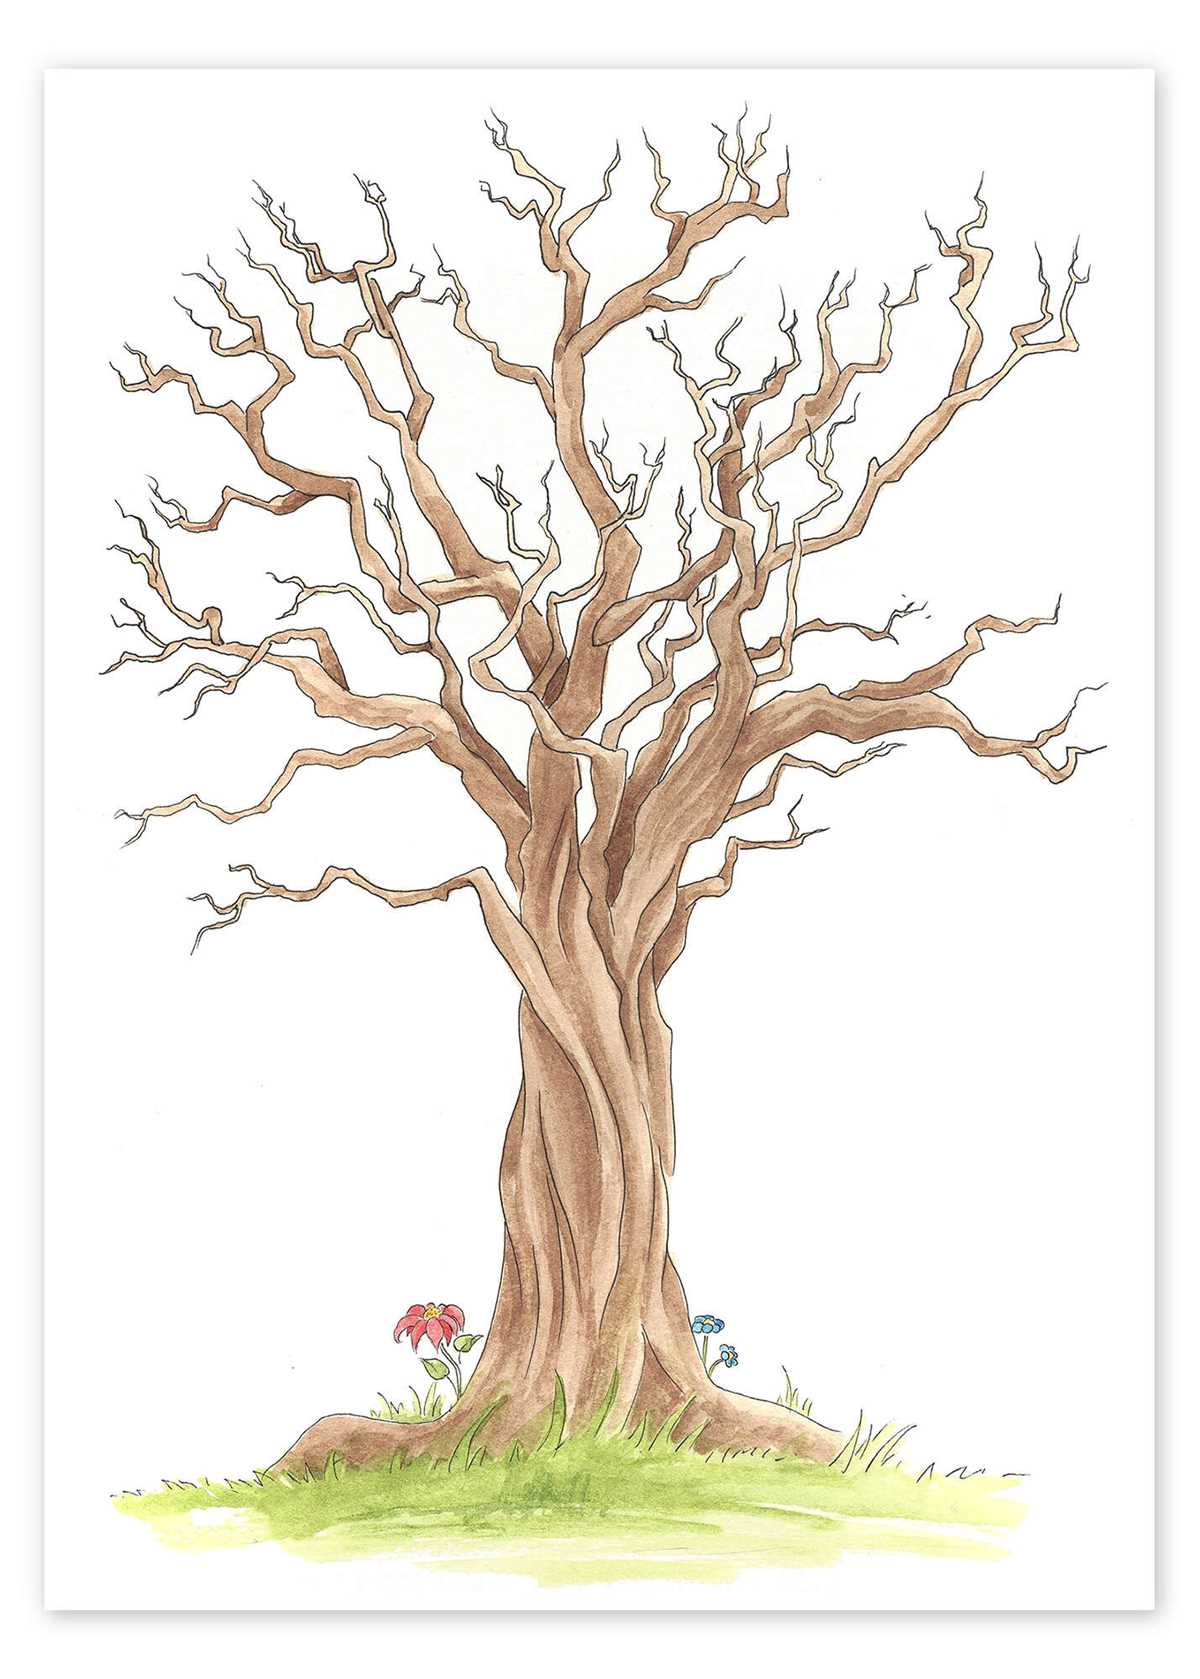
For art and craft projects, encourage students to decorate the model using natural materials like leaves, twigs, and seeds. This hands-on approach allows them to create a textured, more realistic model. It can also lead to discussions about the various types of wood, bark patterns, and how trees adapt to different environments.
Incorporate math by using the model for measurement exercises. Challenge students to measure the height and diameter of the base sections and compare them to real-world data about tree sizes. This exercise can introduce topics such as scale, proportion, and geometric shapes when constructing the model.
As a group project, divide the class into teams, each responsible for creating a different part of a forest ecosystem. One team can focus on constructing the central base, while others create surrounding elements like foliage, animals, and terrain. This collaborative approach can highlight ecological balance and the role trees play in supporting life.
How to Customize a Tree Base Design for Different Craft Projects
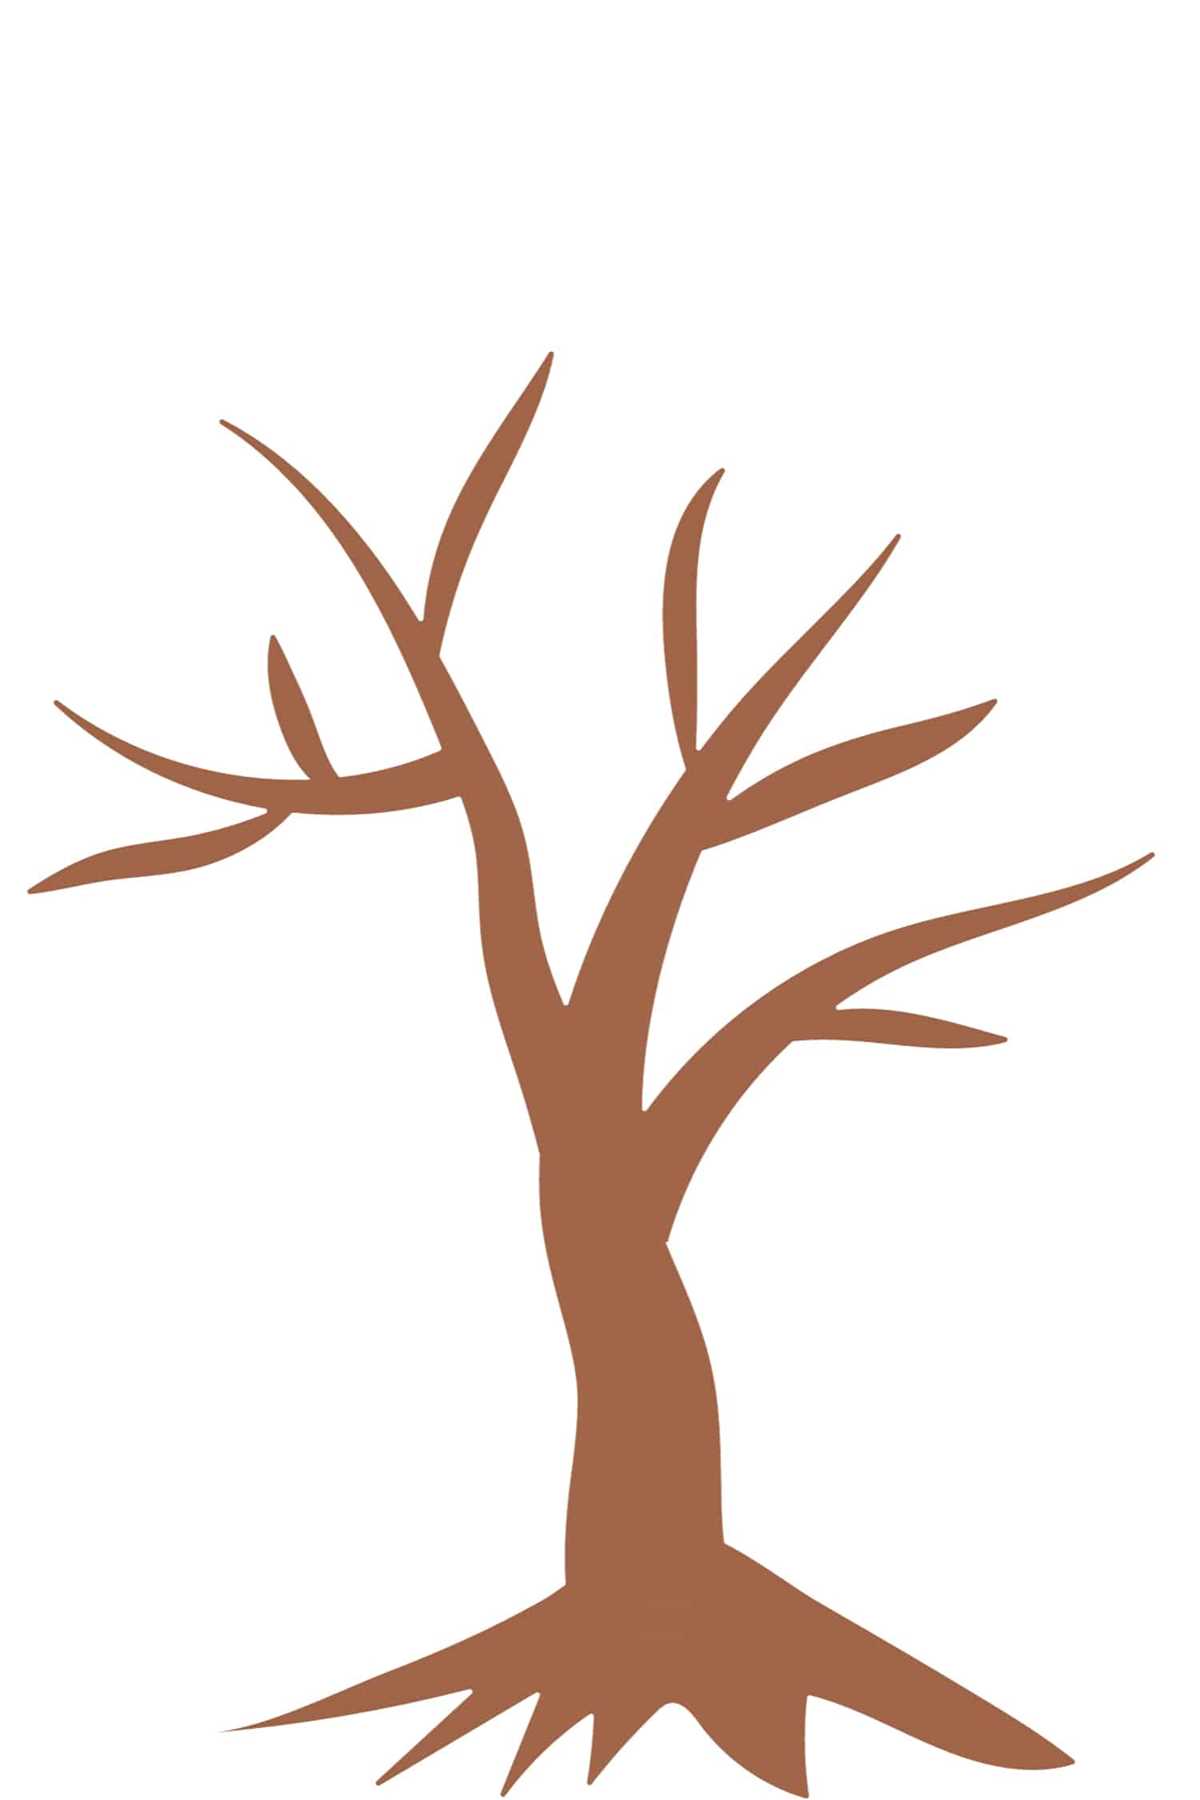
To create a more realistic look, use materials such as textured paper, burlap, or fabric to simulate the bark’s feel. Add intricate details like knots or rings on the model by drawing them with markers or adding small pieces of textured paper. For a more whimsical design, you can incorporate glitter or small gems to represent sap or moss along the surface.
If you’re working on a nature-themed project, consider incorporating small items such as leaves, twigs, or faux vines around the base for added dimension. You can also modify the model’s size by scaling the design to fit your specific project needs. Experiment with colors to match the season, such as browns and oranges for autumn or greens for spring.