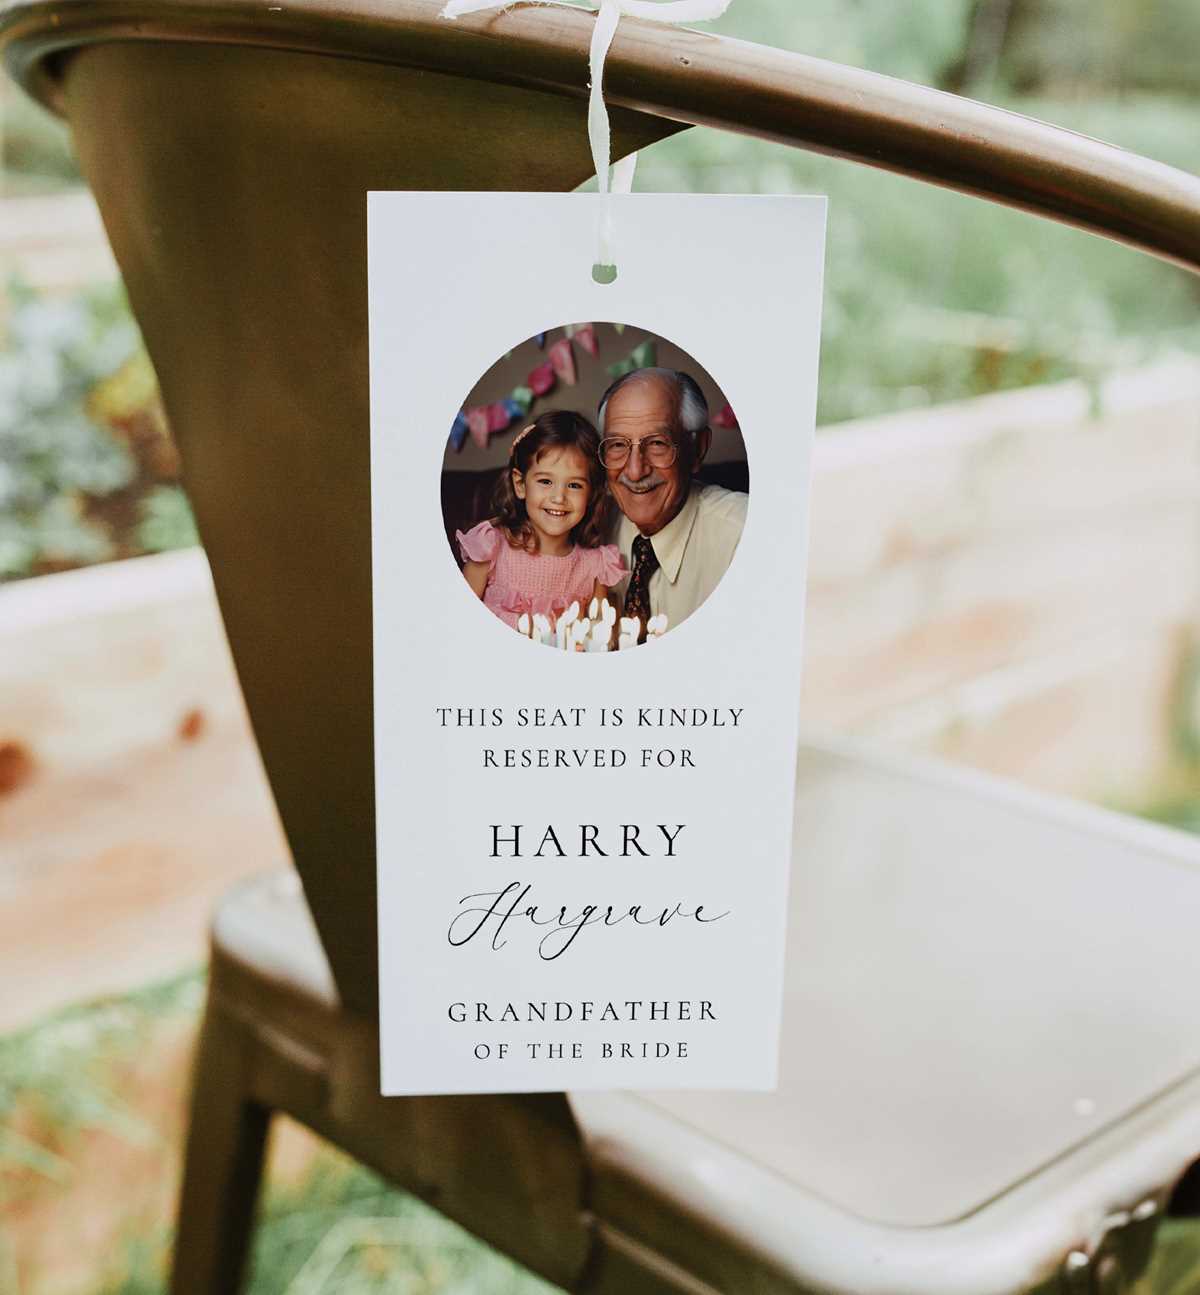
When organizing an event, reserving seats or spaces for special guests or VIPs can be easily managed with a clear and straightforward label. Creating a custom label for designated areas allows guests to quickly identify their spots, ensuring a smooth experience for all involved. Consider using templates that are fully editable to match your event’s theme and style.
Start by selecting a design that fits the occasion. Whether it’s a formal gathering, a casual meeting, or a special event, choosing the right visual style will help make the labels both functional and aesthetically pleasing. Many free templates are available online that can be easily customized for your needs.
Ensure that the text is legible and stands out. Opt for bold fonts with high contrast against the background. The size of the text should be large enough to be visible from a distance, especially in crowded or busy spaces. If possible, print the labels on durable materials such as cardstock or laminated paper to ensure they hold up throughout the event.
Creating a Custom Label for Reserved Spaces
For events where you need to designate specific seats or areas, a personalized label is a must. Choose a format that is easy to read from a distance, particularly for high-traffic areas. Bold, clear text should be paired with a strong contrast color to ensure visibility. This will help your guests quickly identify reserved spaces without confusion.
Templates are a convenient option for quick setup. Many free online tools allow you to create customized designs that suit the occasion. Look for templates that are easy to adjust, whether you need to change fonts, colors, or text size. This flexibility ensures the labels blend seamlessly with the rest of your event’s design.
Material choice plays a significant role in the durability of the labels. Paper labels are fine for indoor, short-term use, but if your event spans multiple days or is held in an outdoor setting, opt for sturdier materials like laminated paper or cardstock. This will keep the labels intact throughout the event and prevent them from fading or getting damaged.
Consider including additional details on your labels for clarity. Alongside the main reservation notice, you might want to add a contact number, a QR code for quick access to event details, or a brief note about the nature of the reservation. This added information can be helpful in larger or more complex events where multiple groups are present.
Finally, ensure the labels are easy to distribute. You can print and place them yourself, or provide a set to staff members who will handle placements. If your event includes specific seating charts, coordinate the label distribution with the chart to avoid confusion or overlap.
How to Create a Custom Reserved Template
Start by choosing a simple layout that is both functional and visually appealing. A clear, bold font should be used to display the reservation text, making it easy to read at a distance. Customize the background color to contrast well with the text, ensuring maximum visibility. If the sign will be placed on a table or chair, ensure the design is oriented in a way that makes it visible from multiple angles.
Next, consider adding additional elements such as borders, icons, or logos to give the template a unique touch. You can use online tools to create a template quickly or design one in a program like Microsoft Word or Canva. Ensure there is enough space for any specific details you might need to include, such as names, event details, or special instructions. Save the file in a format that can easily be printed, like PDF or PNG, for convenience.