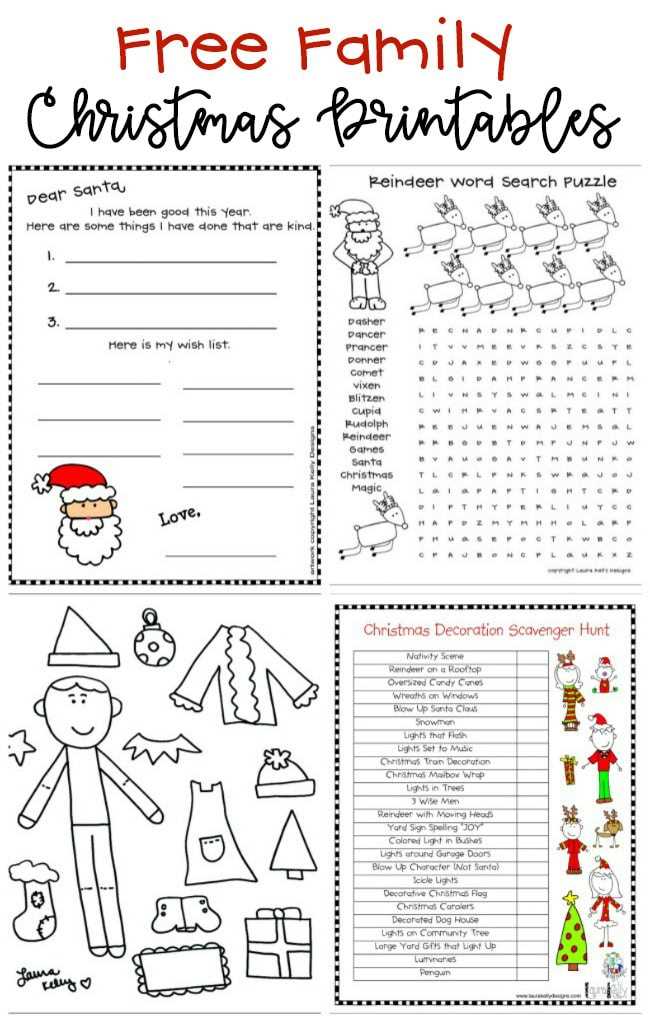
Download themed templates at least two weeks before the holiday rush and print them on 200–250 gsm matte paper for clean colors and durable handling. This simple step prevents last-minute stress and ensures that décor elements, gift tags, and activity sheets look polished rather than rushed. Choose files in PDF format with 300 DPI resolution to avoid pixelation when using standard home printers.
For family activities, select interactive sheets such as scavenger hunts, coloring sets, or countdown calendars. Limit each activity page to two or three colors if you plan to print in bulk; this reduces ink consumption by up to 40% compared with full-color designs. Households with younger children benefit from thick outline artwork (minimum 2 pt line weight), which makes coloring easier and keeps the pages visually clear.
Decorative elements work best when scaled intentionally. Wall signs typically look balanced at A4 or US Letter size, while gift labels appear more refined at 2×3 inches with a 0.125-inch bleed margin. Use adhesive-backed paper for quick application on boxes, or punch a 3–4 mm hole and attach with twine for a handcrafted finish. Test one sample sheet before batch printing to confirm color accuracy and alignment, especially if your printer tends to shift margins.
Storage matters just as much as design. Keep finished sheets in a flat folder away from humidity; paper stored at 40–50% relative humidity stays crisp and resists curling. With a small library of ready-to-use files organized by purpose–decor, kids’ activities, and gift accessories–you can assemble a cohesive seasonal setup in under an hour without additional shopping.
Festive Print-at-Home Creations
Download a themed activity bundle with 300 dpi resolution and print it on 200–250 gsm matte cardstock for sturdy results that don’t curl near tree lights. This weight holds color saturation better than standard office paper and works well for cutting tasks. Set your printer to “high quality” and disable automatic scaling so borders remain crisp.
For gift labeling, prepare a sheet of pre-sized tags (2×3 inches or 5×8 cm). Use adhesive-backed paper if you want peel-and-stick convenience, or punch a 5 mm hole and thread cotton twine for a classic look. Rounded corners reduce fraying and give a polished finish.
- Use warm-toned palettes (deep red, pine green, soft gold) for cohesive wrapping.
- Select sans-serif fonts above 10 pt for small tags to keep names readable.
- Laminate frequently handled pieces such as pantry labels or toy markers.
- Store unused sheets in a flat folder to prevent humidity warping.
Create a countdown wall sheet sized for A3 (11.7×16.5 in) and print on slightly heavier stock, around 220 gsm. Add 24 numbered flaps using double-sided foam tape; this adds depth and allows small treats behind each door. Position the layout vertically so it fits narrow wall spaces.
For table décor, produce folded place cards measuring 10×7 cm when folded. Print two per A4 page to reduce waste. A light cream background (HEX #F6F1E7) minimizes ink consumption compared with pure white designs filled with color blocks.
- Prepare files in CMYK mode before printing.
- Run a single proof page to check margins.
- Cut using a metal ruler and craft knife for straight edges.
- Score fold lines lightly with a blunt tool for clean bends.
Kid-friendly activity sheets work best on standard 80–100 gsm paper so crayons don’t smear. Include mazes, connect-the-dots, and coloring scenes with line thickness around 2–3 pt; thinner lines tend to break on home printers. Leave at least 12 mm margins so nothing gets clipped.
For wall art, export files at 8×10 in and 16×20 in ratios. Use textured linen paper if available; it diffuses ink slightly and gives a gallery feel without extra finishing. Frame with simple black or natural wood borders to keep the focus on the seasonal graphics.
Organize all files in clearly named folders (e.g., “tags_2x3in”, “countdown_A3”) and keep a note of paper types used. This small habit saves time next season and ensures consistent results across every home-printed decoration.
How to Design and Print Custom Christmas Gift Tags at Home
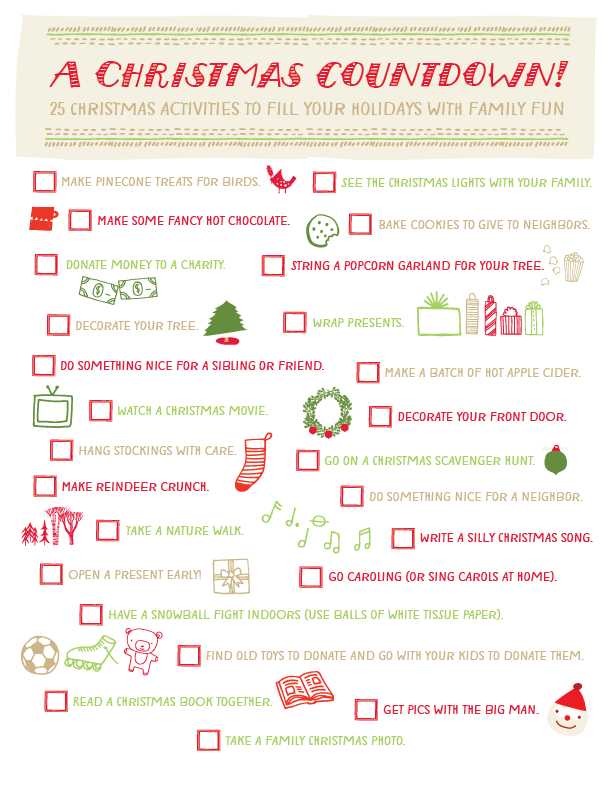
Choose a tag size of 2×3.5 inches or 2×2 inches for the most practical results; these dimensions fit well on standard letter paper and minimize waste. Create your layout in Canva, Adobe Illustrator, or even Google Slides, setting the document resolution to 300 DPI so text and graphics remain sharp after printing. Use a bleed margin of at least 0.125 inches if your design reaches the edge.
Select a limited color palette–two or three tones work best for clean results on home printers. Deep reds (#8B0000), pine green (#1F5D3A), metallic gold accents, and neutral kraft textures reproduce reliably without heavy ink saturation. Avoid thin script fonts under 8 pt; they often blur on consumer inkjets. Pair one decorative typeface with a simple sans-serif for names and short notes.
For paper, choose cardstock between 65–110 lb (176–300 gsm). Matte white gives the sharpest print, while kraft paper adds a rustic look but may mute colors by 10–15%. If you want a premium feel, use linen or lightly textured stock; however, run one test sheet first because heavily textured paper can cause ink spread.
Before printing the full batch, print a single test page using the printer’s “best” quality mode and disable automatic scaling in the print dialog. Check alignment by cutting one tag and verifying that borders are even. If colors appear dull, switch the paper setting in the driver to match your cardstock type; this often increases ink density without manual adjustment.
Cut tags with a guillotine trimmer for straight edges or a 2-inch craft punch for quick uniform shapes. Punch the string hole about 0.25 inches from the top edge using a 1/8-inch hole punch. Thread with baker’s twine, narrow satin ribbon, or thin jute for a more tactile finish.
Store unused tags flat in a dry folder and print extras in batches of 6–12 per sheet to reduce setup time. Keeping your design files saved in editable format allows quick updates for names or color swaps next season without rebuilding the layout.