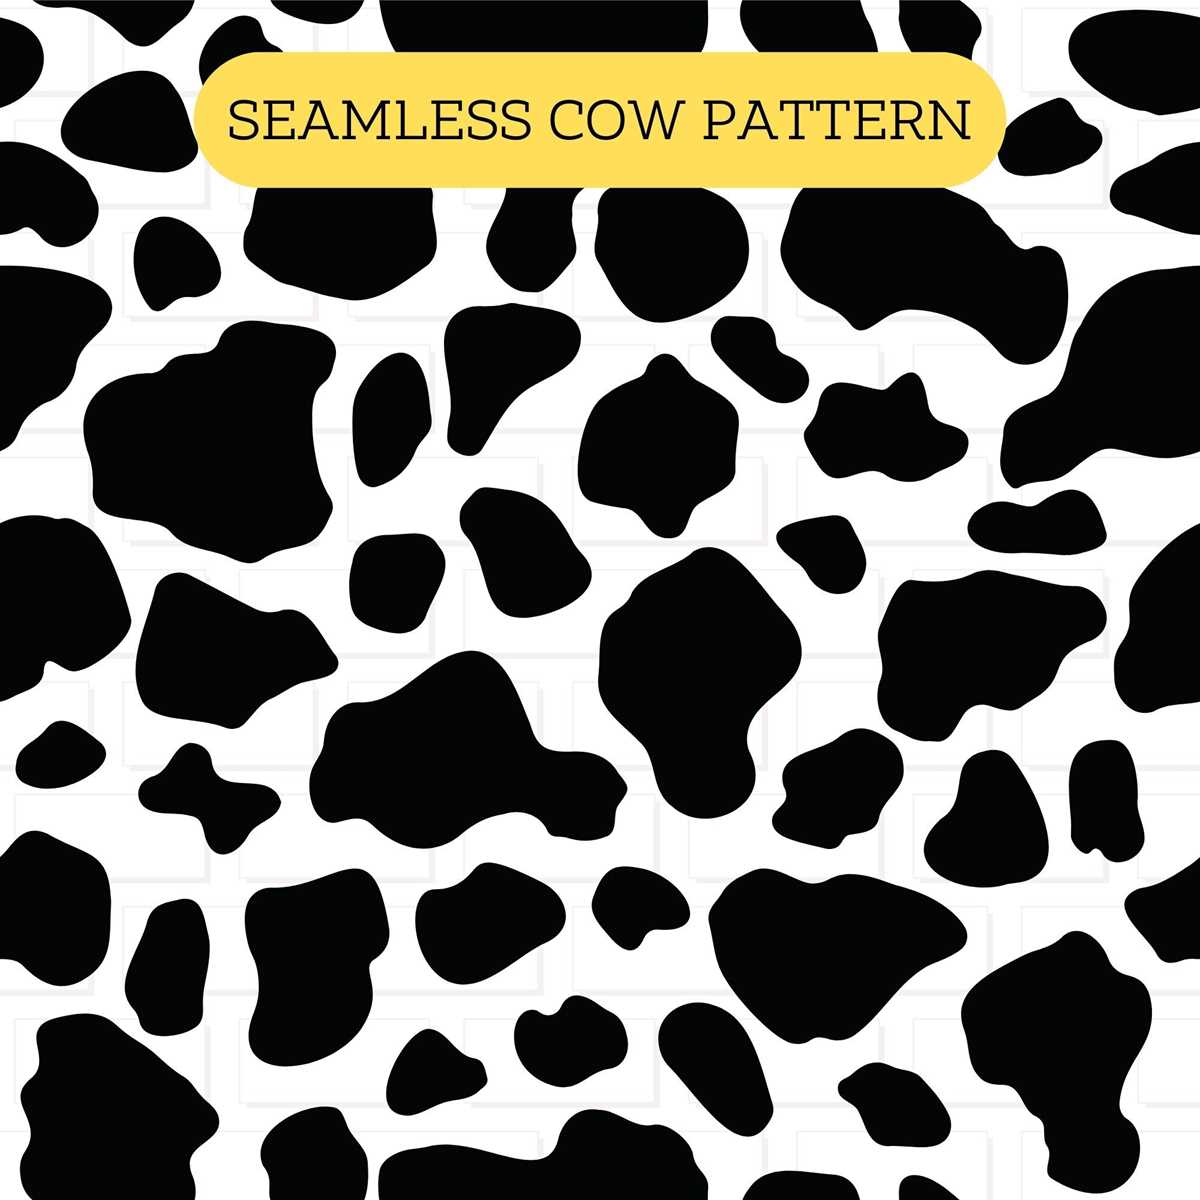
Choose high-resolution spotted hide designs sized at 300 DPI so edges remain crisp on both letter and A4 sheets. For wall décor, select files prepared in 8×10 or 11×14 inches; these formats fit common frames without trimming. If the goal is party styling, pick seamless backgrounds that repeat cleanly across banners and table wraps–visible seams make the pattern look cheap and uneven.
Paper choice strongly affects the final look. For flashcards or labels, use 200–250 gsm matte cardstock; it prevents ink bleed and keeps corners firm after cutting. For stickers, adhesive vinyl with a light laminate layer resists smudging from markers and fingerprints. Home inkjet users should switch to “best” quality mode and disable automatic scaling, otherwise the spot shapes may stretch and lose their natural proportions.
Color accuracy matters more than many expect. Pure black (#000000) often prints too heavy, so adjust to a softer rich black mix (for example, 60/40/40/100 CMYK) if working with a laser machine. Before producing large batches, run a single test sheet and check contrast from two meters away–the pattern should stay readable without merging into dark blobs. With these adjustments, the spotted motif looks clean, modern, and ready for crafts, classroom sets, or themed décor.
Cow Print Printables: Practical Uses and Creation Tips
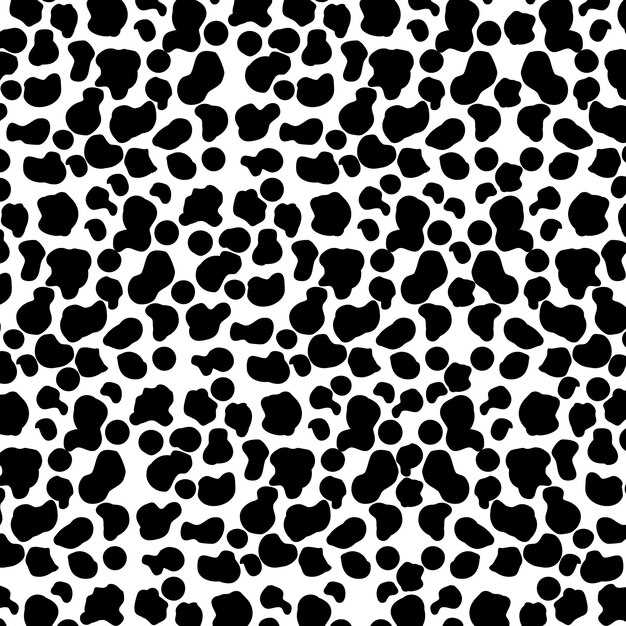
Use high-contrast black-and-white patch patterns for party décor, classroom labels, or gift wrap inserts; files sized at 300 DPI with a minimum canvas of 2550×3300 px (standard US Letter at full resolution) deliver clean edges on most home printers. For packaging accents, scale the pattern to 40–60% to avoid oversized blotches, and choose matte cardstock (200–250 gsm) to reduce glare under indoor lighting. Teachers often apply these motifs to behavior charts and binder covers, while small shops integrate them into thank-you cards and product tags to create a playful farm-style theme without extra design costs.
For creation, build the pattern using irregular rounded shapes rather than uniform ovals; aim for 5–9 blotches per 8.5×11 inch page to maintain visual balance. Export files in both PDF (for consistent layout) and PNG with transparent background (for layering in editors like Canva). Keep margins at least 0.25 inches to prevent trimming issues, and test a grayscale version before final output to confirm deep blacks (RGB 0,0,0 or CMYK 75,68,67,90) reproduce correctly on your printer model. If the design will be reused on stickers or fabric transfers, mirror the layout and verify bleed settings of 0.125 inches for clean cutting.
How to Design High-Resolution Bovine Spot Resources for Home and Classroom Projects
Set your document to at least 300 DPI and define the final page size before drawing any shapes. For letter-size sheets, use 2550×3300 pixels; for A4, use 2480×3508 pixels. Working at this density prevents blurry edges during physical output and allows clean resizing. Choose RGB while designing for flexibility, then convert to CMYK only if a commercial device requires it.
Construct the dairy-hide motif using vector shapes rather than raster brushes. Irregular blobs should vary in scale between 0.5–2.5 inches and avoid symmetry, which looks artificial. Maintain generous negative space; a balanced ratio is about 60% light background to 40% dark patches. Group elements logically so they can be rearranged quickly for worksheets, posters, or activity sheets.
Use controlled contrast rather than pure black and white. Deep charcoal (#222222) paired with warm off-white (#F7F3E8) reduces eye strain during long classroom use. If color versions are needed, limit the palette to two or three tones to keep file sizes manageable and classroom copying clean.
Export master files in lossless formats. Recommended options include:
- PDF (high quality) for classroom distribution
- PNG at full resolution for quick sharing
- SVG when editable scaling is required
Disable automatic compression during export and verify that scaling is set to 100% to avoid unintended resizing.
Plan margins and safe zones with real use in mind. Leave at least 0.25 inches on each edge for home devices and 0.5 inches for school copiers, which often crop more aggressively. Test both portrait and landscape layouts so teachers can integrate the design into worksheets, flashcards, or bulletin board materials without manual adjustment.
Before distribution, run a quick quality check:
- Zoom to 400% and inspect edges for pixelation.
- Confirm file size stays under 10 MB for easy sharing.
- Test one physical copy on a standard home device.
- Verify grayscale readability for monochrome output.
- Ensure text overlays remain legible over spotted areas.
This workflow keeps your spotted-theme resources sharp, adaptable, and classroom-ready.