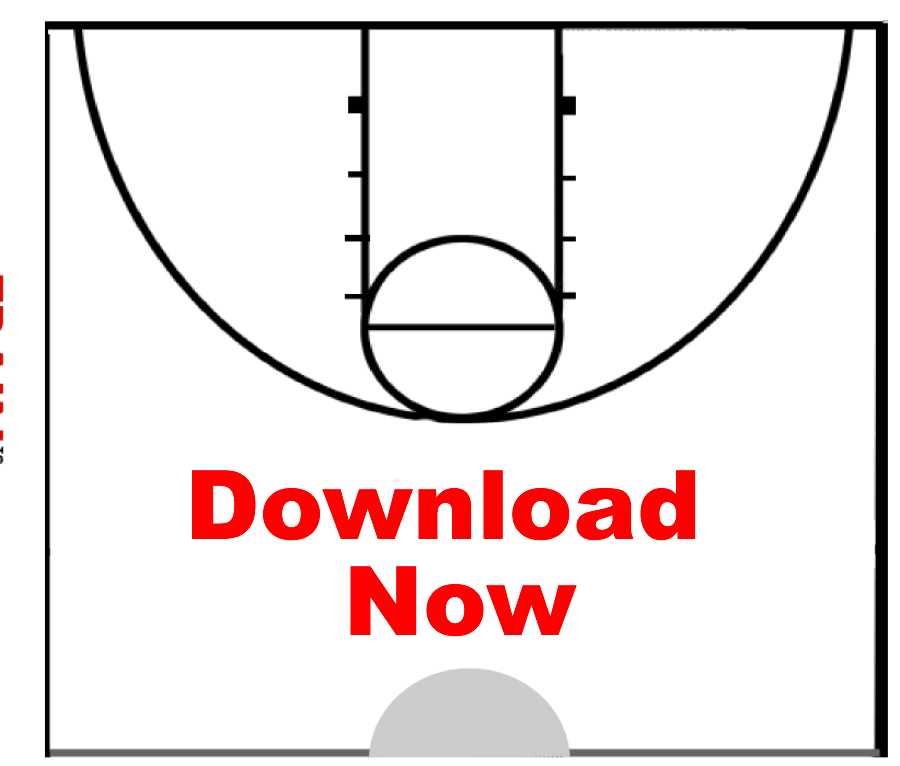
To improve your play strategies, start by selecting a clear and precise design layout of the playing field. Opt for a layout that clearly marks key positions such as the center circle, the key, and the perimeter. These visual guides will make it easier to outline specific movements, defensive setups, and offensive plays for your team.
When preparing for a game or practice session, consider printing multiple copies of the design to plan different drills. These layouts can be marked with key player movements, highlighting the areas where each player should be positioned during certain actions. You can also use color coding to distinguish offensive and defensive positions for better clarity.
For coaches looking to create a visual aid for their team, digital versions are highly useful. Use a program that allows you to manipulate the layout, add notes, and share it with players. This will ensure that your players can review strategies and assignments from anywhere and at any time, even outside of practice.
Creating a Court Layout for Effective Play Design
Start by focusing on key areas such as the center, key zone, and three-point arc. These areas should be clearly visible and marked, as they represent critical zones for offensive and defensive setups. Once the field is mapped out, use this design to practice positioning and simulate game situations.
Ensure that the layout you use allows for easy tracking of player movements. You can make adjustments to it by adding arrows or shaded areas to indicate where players should move during various plays. This makes the design not only functional but also intuitive for planning and reviewing strategies.
Using a detailed layout can help break down complex drills. For example, when teaching players specific ball-handling techniques or positioning during transitions, clearly indicating starting points and movement paths on the field will improve their understanding of the drill’s goals.
To facilitate quick and clear communication with your team, incorporate numbered or color-coded positions on the design. This method simplifies verbal instructions, as you can quickly reference certain spots on the layout, saving time during practice or team meetings.
If you are working on game strategy, consider creating several variations of the design. These can represent different setups for both offense and defense, allowing you to experiment with strategies and adjust based on the game situation. Having a variety of layouts will also help you visualize potential changes in the flow of the game.
For coaches looking to make quick changes, use software that allows you to digitally adjust the design. This will enable faster modifications during practice and allow you to instantly print updated versions for your players. Digital tools can also help you save multiple variations for future reference.
Finally, ensure that the design is easy to understand at a glance. Avoid clutter by limiting unnecessary markings and keeping key information like player positions and movement paths clear. This will make the layout a useful tool for quick reference, whether it’s displayed in the locker room or printed for individual review.
How to Customize Your Court Layout for Coaching
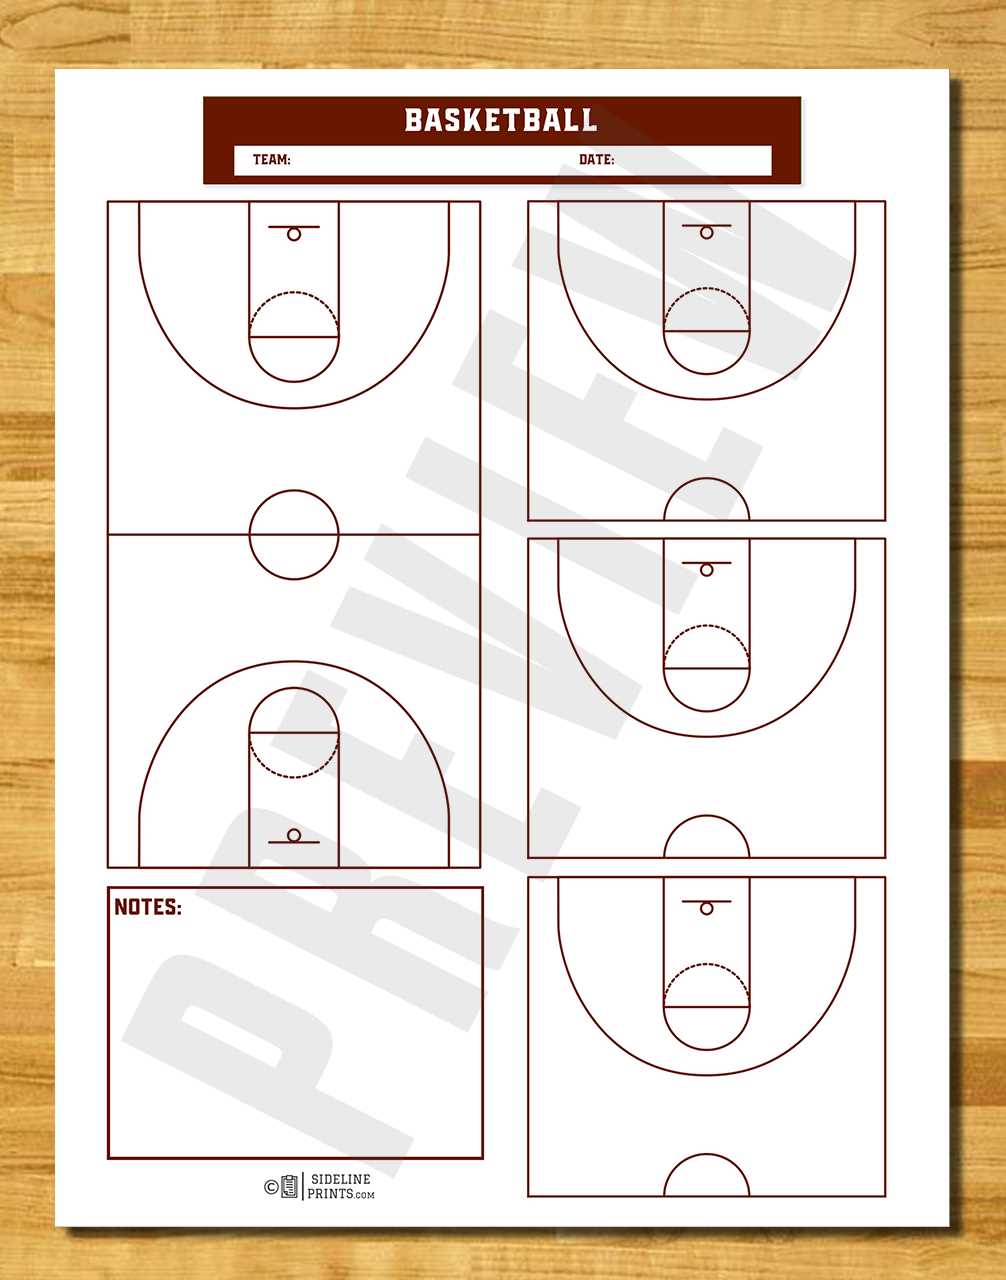
Begin by focusing on player positions during drills. Customize the layout to reflect specific offensive and defensive setups you plan to run. Add symbols or shaded areas to show where each player should be during different stages of the play. This visual cue will help players understand their role more effectively.
Use color coding to distinguish between various types of movements, such as passing lanes, cutting zones, or areas for defensive rotations. For example, green can represent an open area for a player to cut to, while red could highlight an area where the defense should collapse. This will make it easier for both coaches and players to interpret the design at a glance.
If you work with a team that uses particular formations or rotations, incorporate these details into your diagram. For example, include player numbers or specific positions (like “center” or “point guard”) on the design to make sure everyone is on the same page. These customizations ensure that each diagram serves the exact needs of the drill or strategy.
Lastly, if you plan on reusing your layout for multiple sessions, consider creating templates for different types of plays. This allows for quick adaptations without having to start from scratch every time. You can also easily adjust or update the layout depending on player development or game analysis.