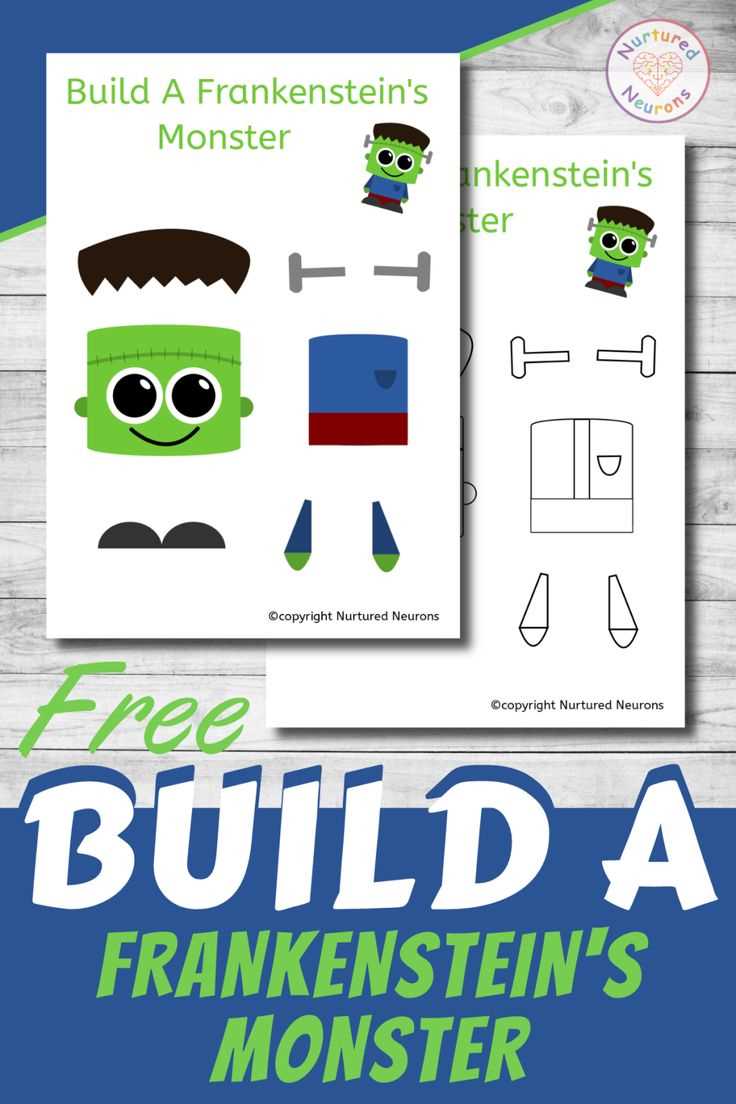
Start by gathering the materials you’ll need for this creative project. You’ll want to print out a set of body parts, such as the head, arms, and legs, along with any accessories you want to include, like bolts, scars, and stitches. These can be found in many fun designs online, or you can draw your own. Once printed, carefully cut out each piece to prepare for assembly.
For younger participants, make sure the pieces are easy to color and assemble, focusing on large shapes and simple details. You can also offer pre-colored versions for those who may not have the time or inclination to color everything. For more advanced crafters, consider adding intricate designs or offering a mix-and-match approach with various monster parts to build a unique creation.
Next, gather your adhesive and tools. Depending on the materials used, you might need glue sticks, tape, or even brads to connect moving parts. Be sure to provide safety scissors for the little ones and have adult supervision for the more challenging parts. Consider setting up a workspace where each part can be placed in an organized manner, allowing the creators to visualize their monster as they go along.
Don’t forget to add finishing touches to your creation! Whether it’s adding accessories like clothing, accessories, or using markers and glitter for extra decoration, these small details help bring your monster to life. Once finished, these creations can be used as decorations, gift tags, or fun interactive toys for creative play.
How to Create a Monster with Paper Pieces
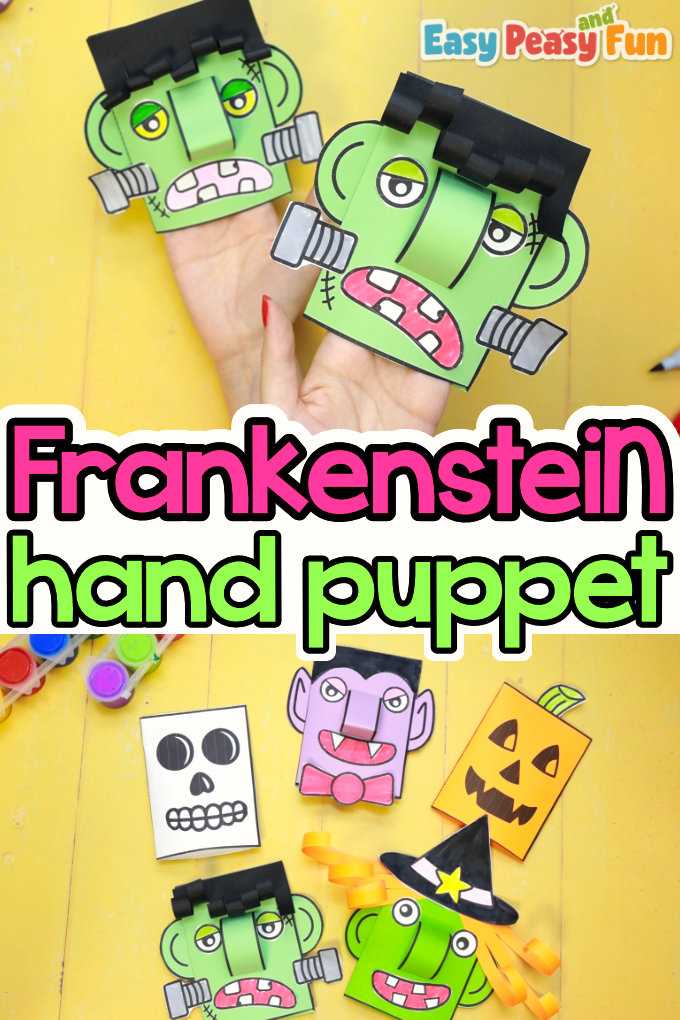
Start by printing out the various parts of the creature, such as the head, torso, arms, and legs. You can either draw these parts by hand or use pre-made templates found online. Ensure the parts are cut out neatly for easier assembly. If you want to make the experience more engaging, you can also include accessories like bolts, stitches, and scars that can be added to each section. Make sure that the design of each part fits together well, allowing for easy assembly into a finished creature.
Next, gather your coloring materials. Depending on the level of detail you want, you can use crayons, markers, or colored pencils to add personality to each piece. Encourage creativity by allowing the decorator to choose colors that reflect their vision of the monster. Don’t forget to offer some instructions or ideas for how to add unique features, like glowing eyes or a patchwork body. The more creative, the better!
After all parts are colored and cut, it’s time to assemble. Use glue or tape to connect the body sections, paying attention to how each piece fits together. If you’re working with children, consider using brads for joints so the arms or head can move. This simple interactive feature adds an extra layer of fun to the activity. Finally, display the completed monster as a decoration or keep it for future storytelling sessions or interactive games.
Step-by-Step Guide to Assembling Frankenstein’s Monster
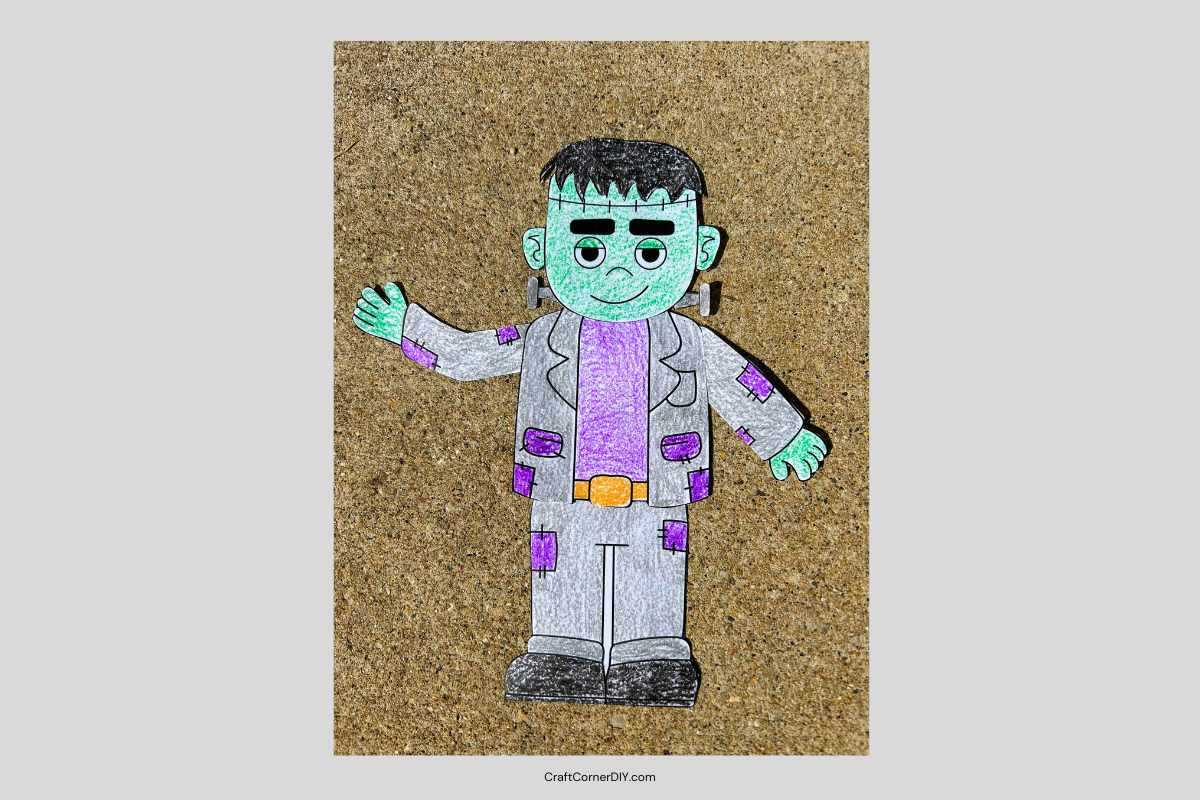
Start by printing the various pieces needed to create the creature. You will need a head, torso, arms, and legs. For accuracy, ensure each section is proportionate to the others. You can find pre-designed templates or create your own by drawing simple shapes. Once printed, cut out the shapes carefully to avoid uneven edges.
Next, focus on coloring. You can use colored pencils, crayons, or markers to bring life to each piece. Consider using shades of green and brown for the body parts, and add creative features such as stitches, scars, or scars for a more lifelike appearance. Take your time to apply consistent color to make the monster’s features stand out. Don’t forget to add accessories like bolts for the neck area or a patchwork design to enhance its character.
After finishing the coloring, carefully trim any excess paper around the edges of the sections. This will ensure that each piece fits together neatly when assembled. If you’re working with children, this might be a fun part of the process to encourage precision and attention to detail.
For easier assembly, consider adding holes along the joints where arms and legs meet the torso. You can use brads or small fasteners to create moveable joints. This method allows the monster to be more interactive, and it also adds a playful element to the creation process. It also makes it easier for kids to manipulate the figure once it is completed.
Once the joints are ready, start by attaching the head to the torso. Use glue or tape if you prefer a more stationary creation. For those who opted for movable joints, secure the brads or fasteners to the shoulder area, and attach the arms. Be sure to align the pieces properly for a symmetrical look.
Next, attach the arms to the torso. Make sure that they are positioned in a way that complements the stance of the creature. You can either glue the arms in place or use fasteners for a more dynamic design. If using fasteners, leave room for movement. Once the arms are secure, attach the legs using the same technique to complete the body structure.
Finally, secure any accessories you added, such as bolts, stitches, or scars. This can be done using small pieces of tape or glue, depending on the material. These details add character and personality to your monster, giving it a truly unique look.
Now that your creature is fully assembled, place it in an upright position and enjoy the handiwork. You can display it as part of a Halloween decoration, or use it for storytelling and games. Consider creating multiple monsters with different features to create a full cast for interactive play or educational activities.