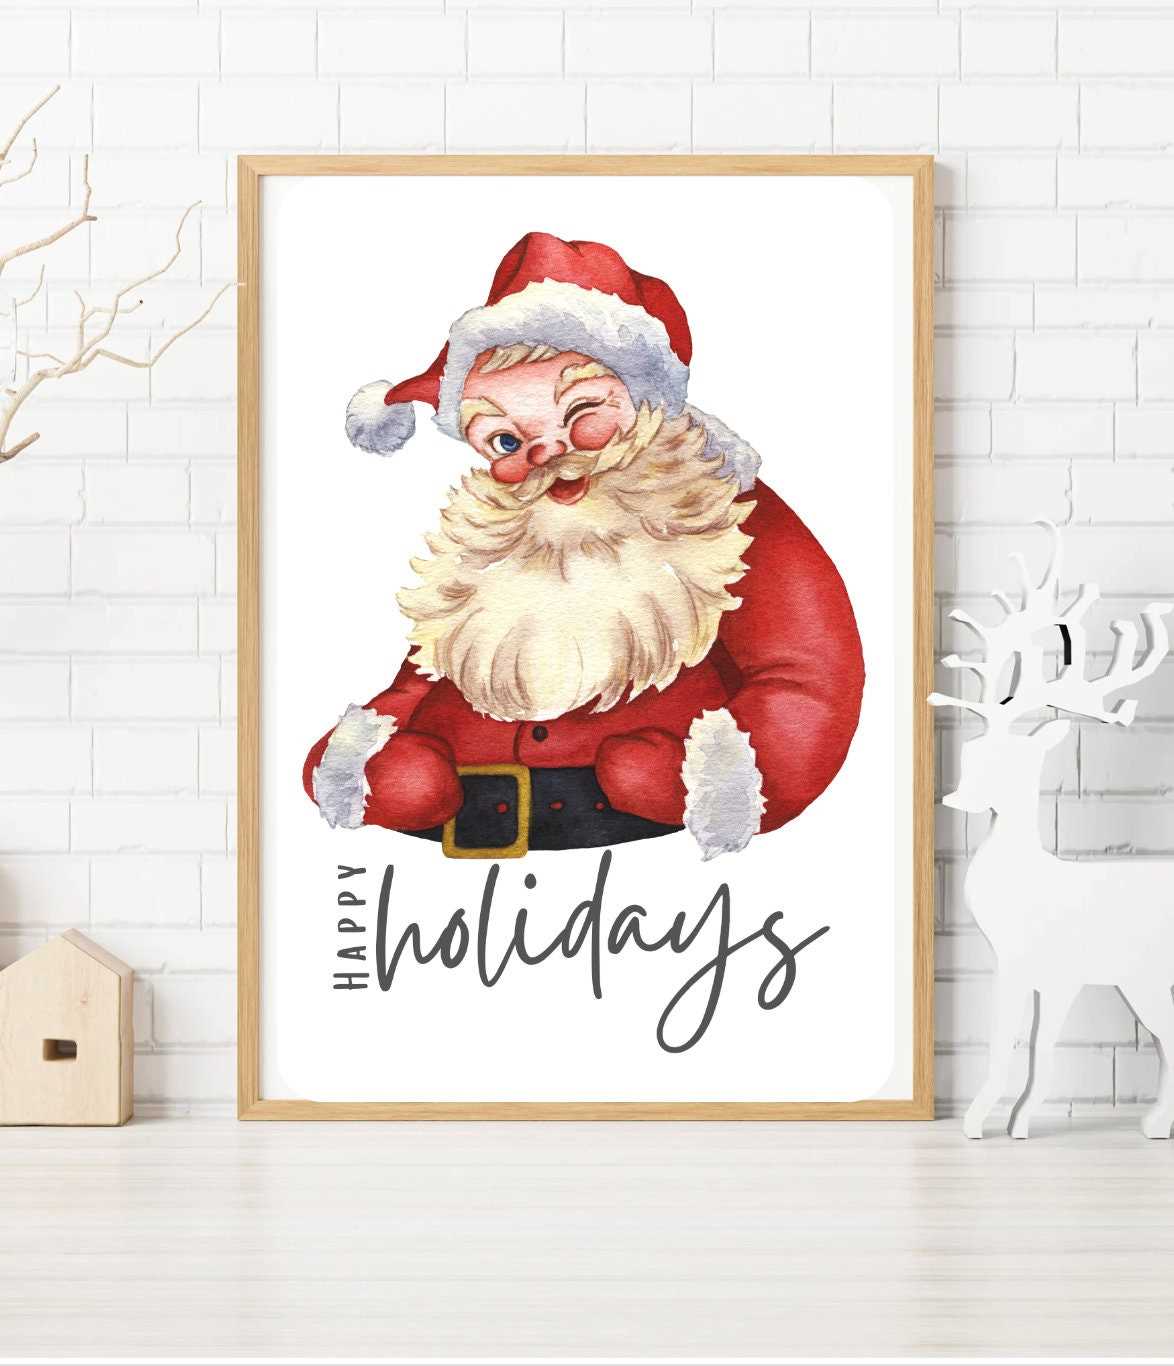
Start by choosing high-quality, thick cardstock for your holiday shapes. It will hold the structure better and last longer, especially if you plan to use them multiple times. Make sure to check the printing settings for the right paper size and resolution to ensure clean lines and accurate details.
Cutting out the shapes can be tricky, so use precision scissors or a craft knife for accuracy. If the edges need to be perfect, a punch tool can help with rounded designs. After cutting, consider adding a layer of felt or fabric to the back to soften the texture and prevent sharp edges from poking through.
For those looking to add a personalized touch, embellish your designs with glitter, beads, or small ornaments. Hot glue is a reliable adhesive for securing decorations to your project. Ensure everything is firmly in place before displaying it around your home.
Holiday Paper Crafting Ideas
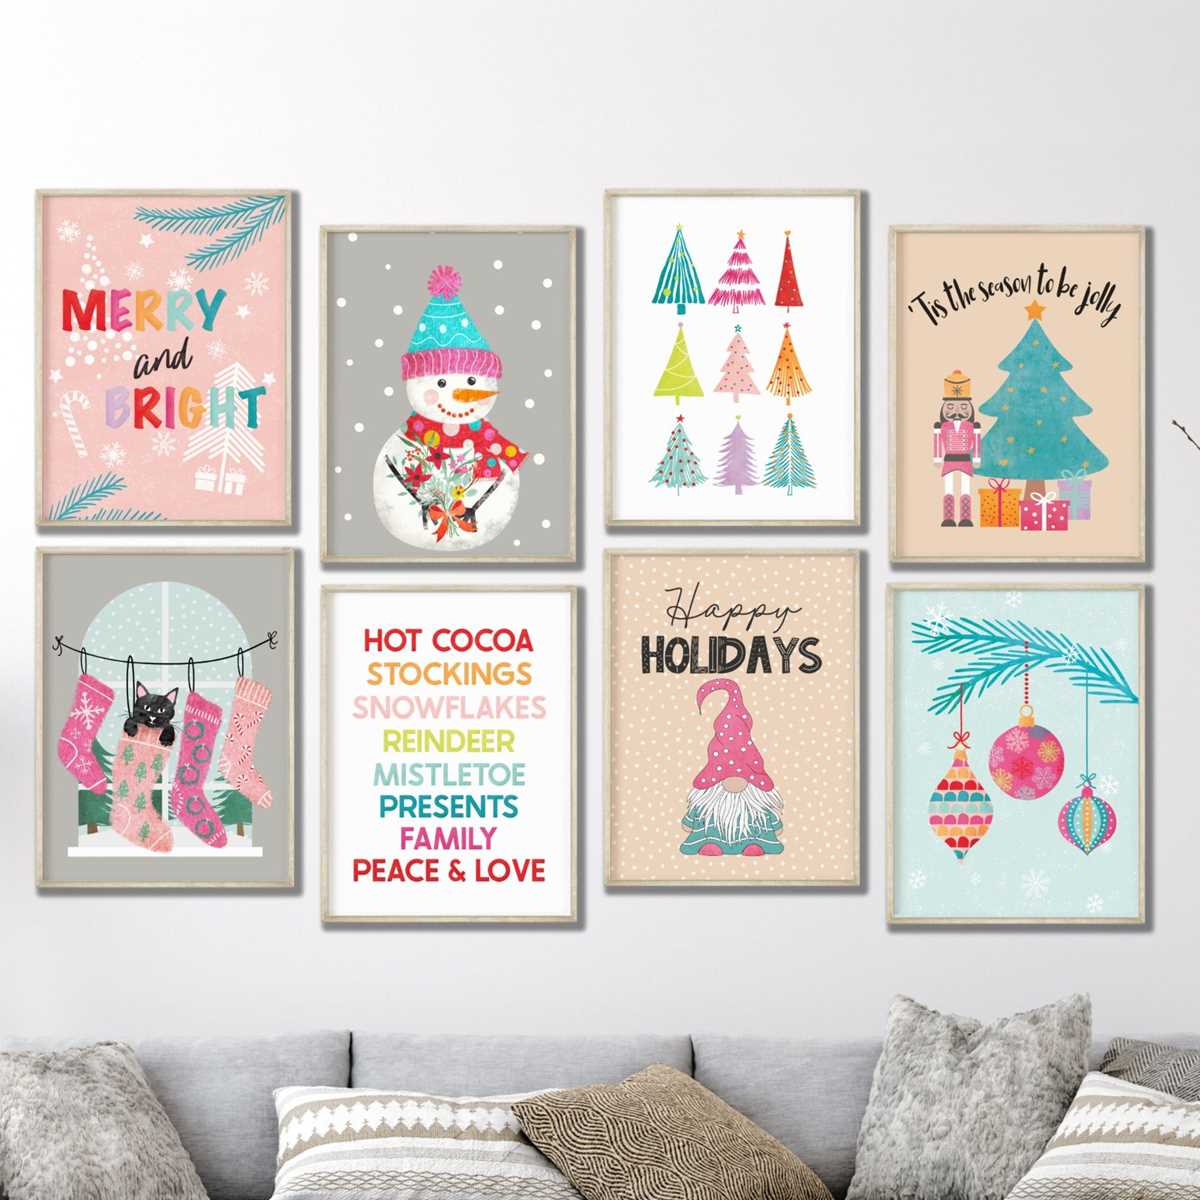
Select a high-quality cardstock to ensure your designs hold up well. This type of paper will add sturdiness to your crafted pieces, making them ideal for both short-term and long-term use. For the best results, use bright, white cardstock to achieve clear, vibrant prints.
After printing your shapes, carefully cut them out using sharp scissors or a precision craft knife. For larger designs, using scissors will speed up the process, but for intricate patterns, a craft knife offers more control and accuracy.
If you plan to attach your cut-outs to other surfaces like a headband or wreath, consider adding a soft felt backing. This provides comfort and prevents the edges from feeling rough or irritating when worn or touched.
Add sparkle to your pieces with glitter or rhinestones. For a cohesive look, consider using metallic colors or matching hues with the overall theme of your holiday setup. Apply hot glue for a secure attachment and allow time for everything to dry thoroughly.
For a custom touch, you can print designs in various sizes. Resize the templates before printing to create both large and small pieces that complement each other. Use the smaller versions for smaller decorations and larger ones for focal points.
Consider layering your designs for added texture and dimension. You can overlap several cut-out pieces, adhering them at slightly different angles to create a multi-dimensional look. This works especially well with snowflakes, stars, or wreath patterns.
Finally, once all the pieces are cut, decorated, and assembled, position them strategically around your space. Use them as ornaments, window clings, or part of a centerpiece arrangement. They’ll add a festive atmosphere and make your holiday setup feel uniquely personal.
How to Choose the Right Paper for Holiday Printable Decorations
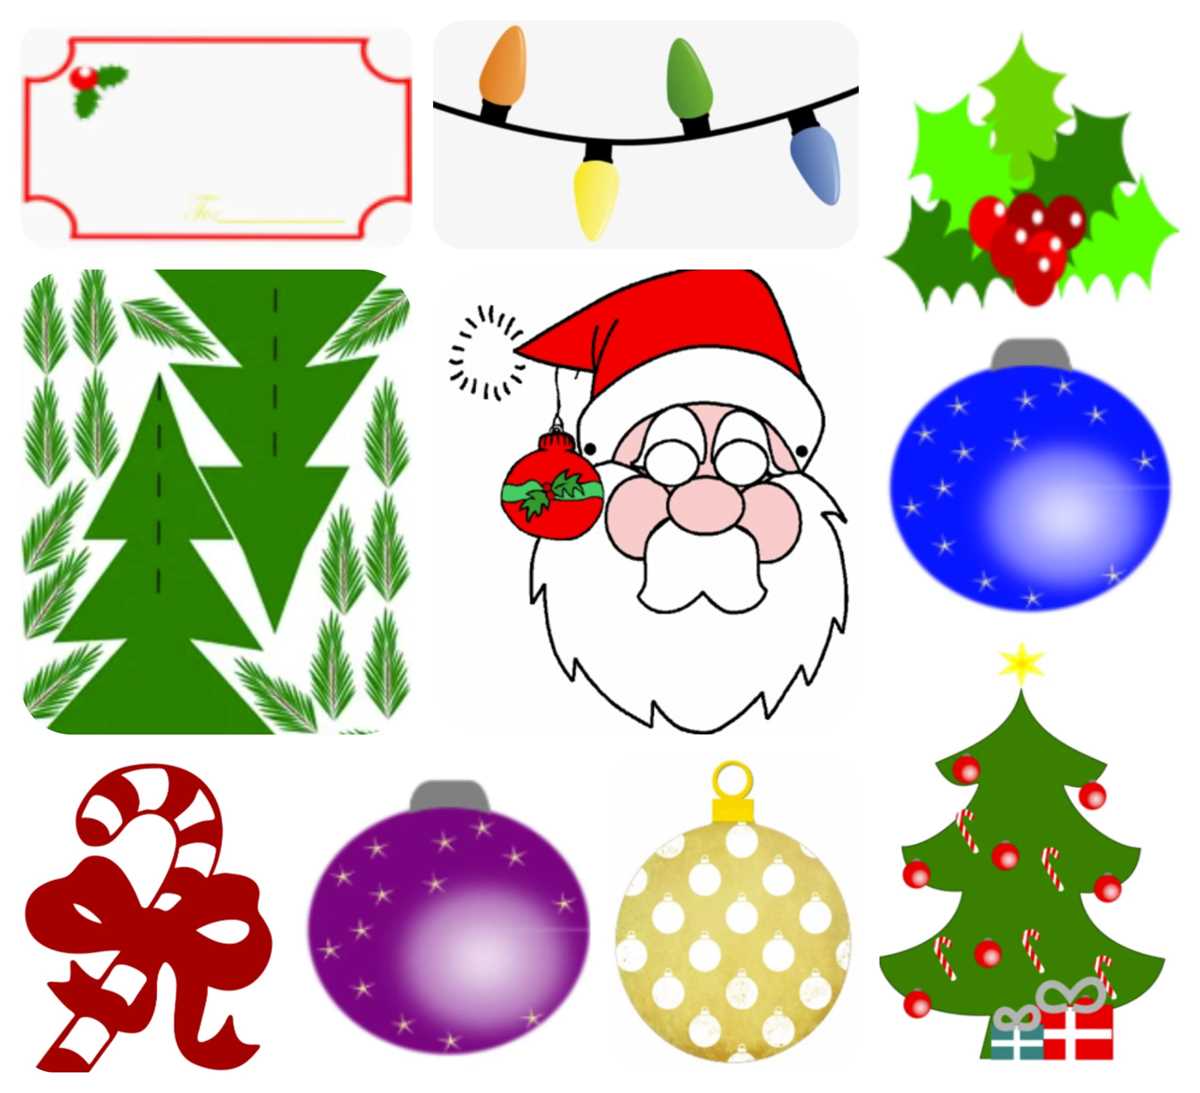
For a sturdy and long-lasting result, use thick cardstock. This type of paper ensures that your designs hold their shape, especially when cut into intricate patterns. It’s also more durable when exposed to handling, ideal for decorations that need to last throughout the season.
If you’re aiming for a glossy finish, opt for photo paper. This paper type will enhance vibrant colors and provide a shiny, polished appearance. Glossy finishes are perfect for designs that will be used as centerpieces or ornaments that need to shine.
When printing larger designs or creating wall hangings, consider using a heavier weight paper such as 250-300 gsm. This weight will prevent the paper from buckling or warping after printing and give the piece a substantial feel.
For more flexible designs, like banners or garlands, lightweight paper such as 80-100 gsm works best. It’s easier to fold, twist, or manipulate into various shapes without losing integrity. This paper type is also easier to store and manage when working with multiple pieces.
Recycled paper is a great eco-friendly option for crafting. It provides a rustic, natural look that pairs well with vintage or organic-themed setups. While it may not have the same glossy finish as other papers, it offers a unique texture that can complement the overall theme.
If you’re adding embellishments such as glitter or paint, choose a paper with a smooth finish. Papers with a rough texture may not absorb or adhere to these materials well, leading to uneven results. Smooth-textured paper allows for clean and sharp designs when adding extra layers or decorations.
Test a small section of the paper before printing the entire design to ensure that the texture, weight, and finish are suitable for your project. This will prevent wasting paper and help you achieve the desired outcome for your holiday crafts.