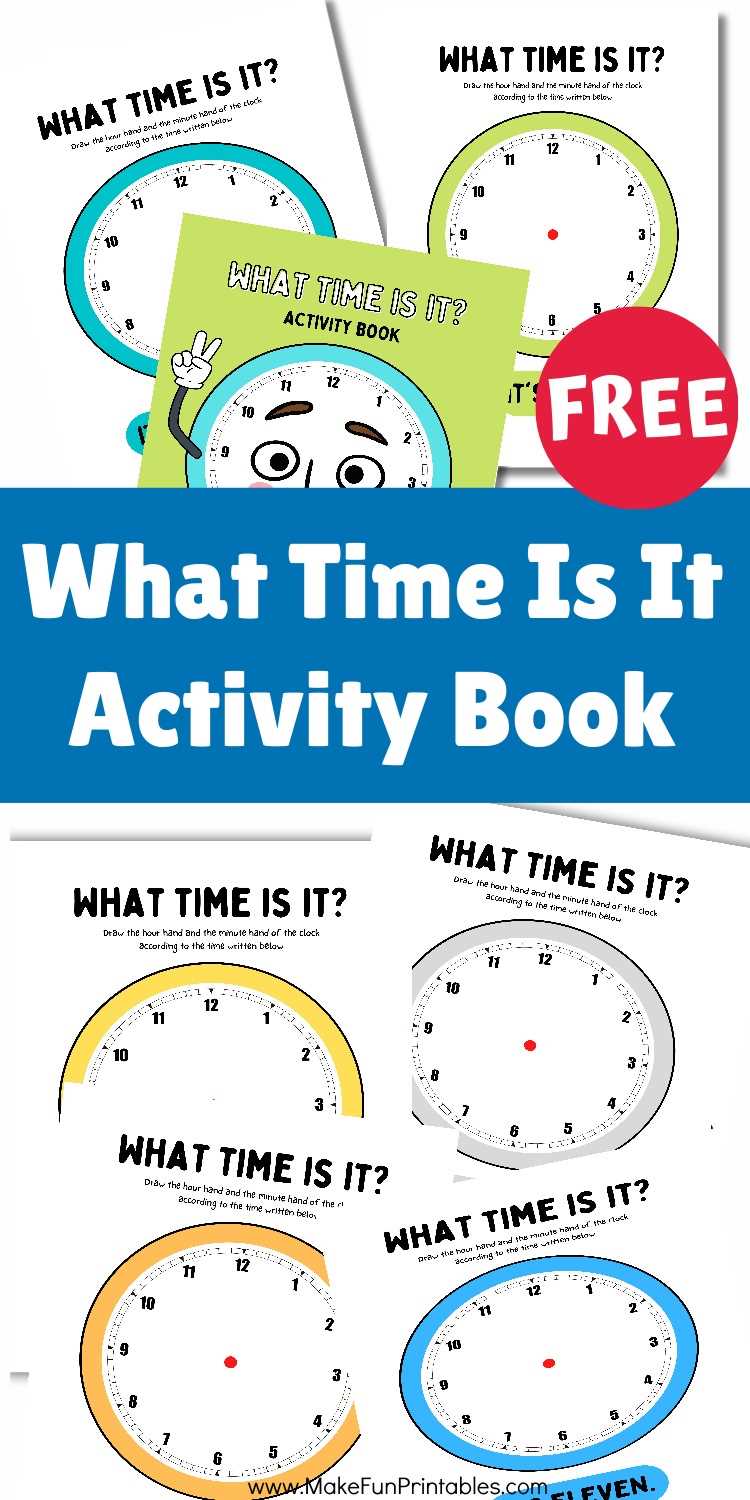
To effectively teach young learners how to understand the hour and minute hands, using engaging, hands-on resources is crucial. Printable diagrams with movable hands or interactive templates can simplify this process. By providing visual aids that children can manipulate themselves, you enhance their ability to grasp the concept of hours and minutes quickly and efficiently. These resources help create a fun learning experience while reinforcing important skills that will last a lifetime.
Start with simple, large-scale designs that highlight the basic functions of the hour and minute hands. As students become more comfortable, progress to more detailed worksheets that introduce time intervals such as half-past, quarter past, and so on. This gradual increase in difficulty ensures that learners build a solid foundation before moving on to more advanced concepts like elapsed time or digital representations.
To get the most out of these resources, be sure to use tools that allow for consistent practice. Printable materials with blank faces can be used repeatedly with different times, ensuring students get a chance to practice over and over again. Incorporating these activities into daily lessons will help reinforce the concepts and build confidence in reading analog clocks.
Best Clock Templates for Teaching Kids How to Read Analog Clocks
To effectively introduce young learners to analog clock reading, opt for templates that feature large, easy-to-read numbers and distinguishable hour and minute hands. Simple designs that break down each segment of the clock face help children visualize how the hands move. Start with clear, uncluttered templates that emphasize the basic elements–hours, minutes, and the hand positions. These straightforward designs allow kids to focus on the mechanics without being overwhelmed by additional details.
For a more interactive approach, choose clock templates with movable hands. These are great for tactile learners, as children can physically manipulate the hands to demonstrate various times. This type of template can be printed multiple times, giving students plenty of opportunities to practice. You can even create a game by calling out different times, asking the child to move the hands accordingly.
As kids grow more familiar with reading clocks, introduce templates that show time intervals like “quarter past” or “half past.” These clocks may have lines or shaded areas marking specific intervals, providing extra cues for kids. This method builds on their existing knowledge while gradually introducing more complexity without overwhelming them.
Finally, adding fun elements like cartoon characters or themes that resonate with children can keep them engaged. Templates with colorful illustrations make the process feel less like a lesson and more like a playful activity. The more appealing the design, the more likely children will enjoy learning the concept, making them more eager to practice regularly.
Step-by-Step Guide to Using Worksheets for Learning to Read Clocks
Begin by selecting worksheets that are visually clear and contain well-defined sections, such as separate areas for hours and minutes. Simple designs will help students focus on the main concepts without distractions. Start with basic activities like matching times with their corresponding clock faces or identifying the positions of the hour and minute hands. This provides a solid foundation before introducing more complex tasks.
Next, use worksheets with interactive components. Activities like drawing the hands on a blank clock face or filling in the correct times based on a description encourage active participation. You can also incorporate worksheets that include exercises with multiple clock faces to help children compare different times and identify patterns, such as when the hour hand is halfway between two numbers.
To reinforce understanding, gradually increase the difficulty of the worksheets. Introduce challenges that involve word problems or scenarios where students have to read specific times and then calculate the difference between two moments. This will help develop both their reading and problem-solving skills. Offer consistent feedback and praise to keep students motivated and engaged in the learning process.
How to Customize a Template for Different Learning Levels
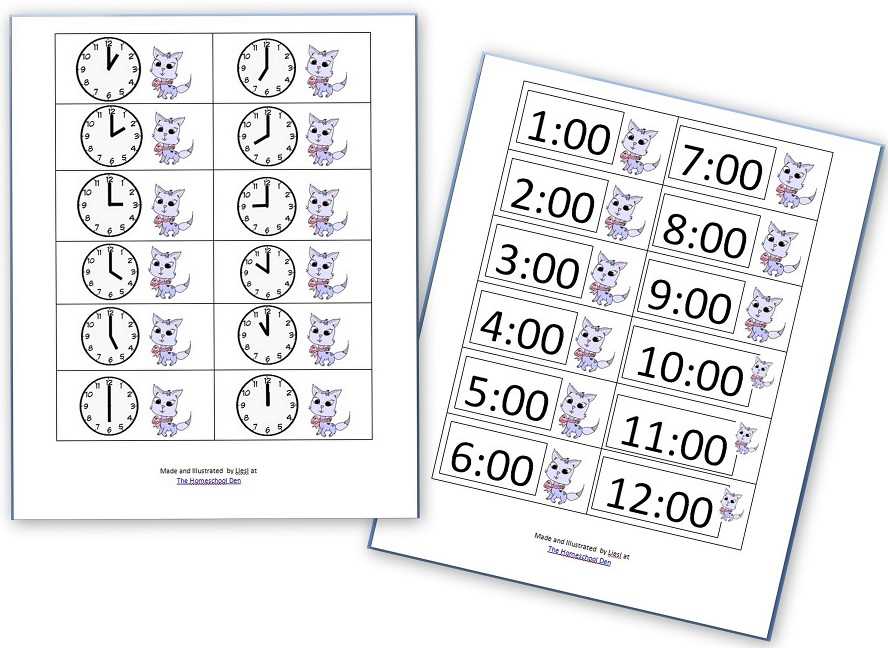
For beginners, use a template with large, easy-to-read numbers and clear divisions between the hour and minute sections. Keep the design simple, without any extra markings, so that learners can focus on understanding the basic concept of hours and minutes. This approach allows students to build a strong foundation without being overwhelmed by additional details.
For intermediate learners, consider adding subtle color coding or labels to the clock face to differentiate between the hour hand and minute hand. Use smaller increments for the minutes, such as lines every 5 minutes, to help them practice reading more specific times. This will gradually prepare them for more complex time-reading tasks without introducing too many new elements at once.
Advanced learners can benefit from a template with more intricate designs, such as clocks with AM/PM labels or a 24-hour format. These can be used for exercises involving time conversion and reading clocks with different styles. You can also introduce multiple clocks with different times and scenarios for comparison and practice in applying time concepts in real-life situations.
To keep students engaged, allow them to interact with the template, such as by drawing in their own hands or answering time-related questions based on the clock. Adjust the complexity of the questions according to the learner’s progress, ensuring that the challenge increases gradually without overwhelming them.