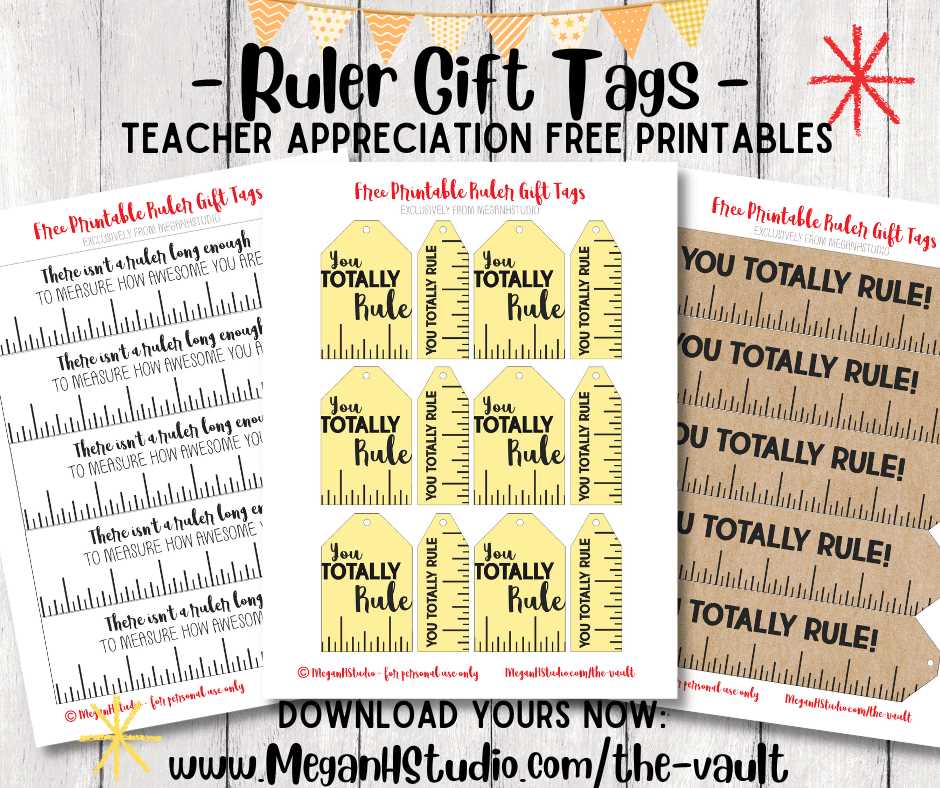
Start by selecting a template that suits the occasion, whether it’s for a holiday, end-of-year appreciation, or a special recognition. Choose designs that feature a simple yet elegant layout with space for writing a personal message.
Ensure that the size of your design fits the item you intend to attach it to. If you’re adding it to a box of treats or a potted plant, adjust the dimensions accordingly to ensure it complements the gift, rather than overwhelming it.
For a more customized touch, consider incorporating the educator’s name, a meaningful quote, or a small illustration related to their subject area or personality. This adds a personal element that shows thoughtfulness and care, beyond just a generic label.
Creative Ways to Make Appreciation Labels Stand Out
Choose a design that fits the personality of the recipient. If the person loves minimalism, go for clean lines and simple fonts. If they have a playful nature, opt for colorful patterns and fun typography. This customization adds a personal touch to the gesture.
When printing, adjust the layout to ensure the design aligns well with the intended package. A smaller label works well for delicate items like pens or small potted plants, while larger ones are suitable for gift baskets or boxes. Make sure the text is legible and doesn’t get cut off when printed.
Consider using high-quality paper for a more professional finish. Glossy or textured cardstock gives the labels a sturdy feel, making them look more polished and lasting. This will also prevent the label from tearing easily during handling.
Adding a custom message or quote can elevate the thoughtfulness of the label. Whether it’s a simple “Thank you” or a quote that reflects the recipient’s impact, this small detail turns a generic label into something special and memorable.
If you want to go a step further, use ribbon, twine, or string to attach the label to the item. This extra step enhances the overall presentation and ensures the label stays secure during delivery or gifting.
How to Design Custom Appreciation Labels for Any Occasion
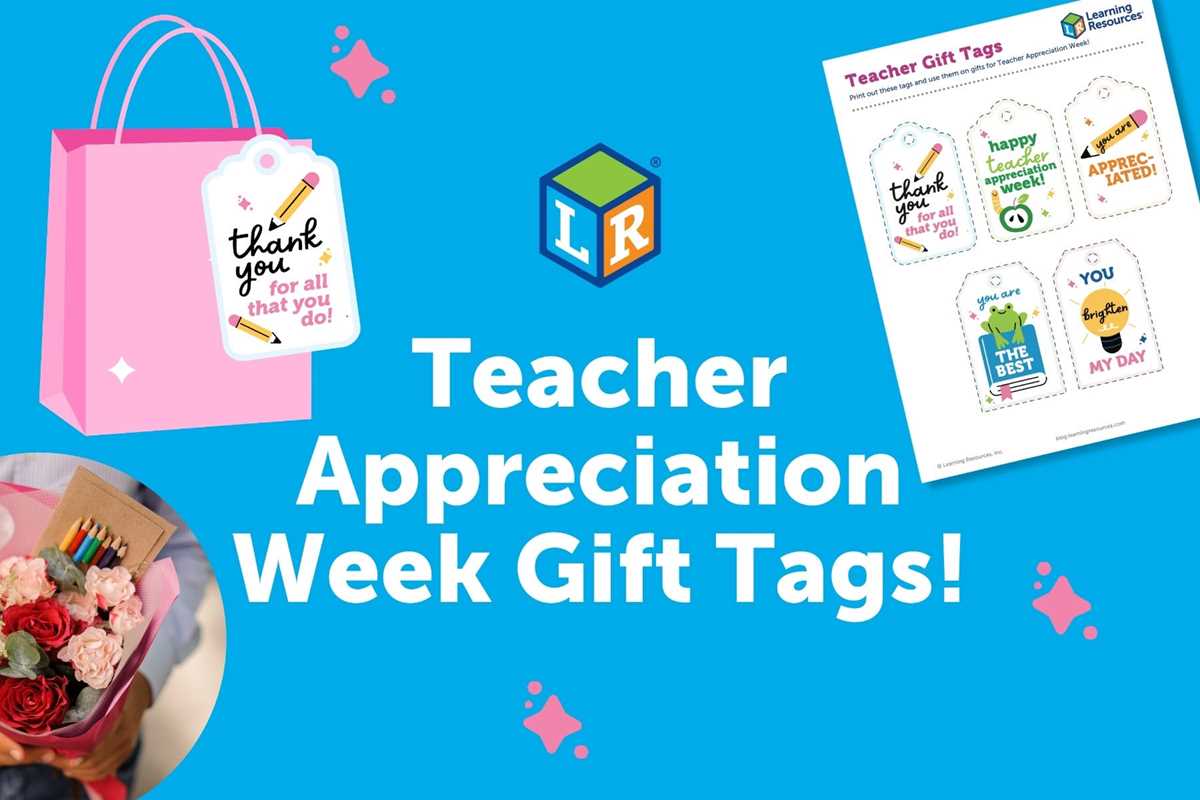
Start by selecting the right theme based on the event or reason for appreciation. For a holiday celebration, incorporate festive elements such as snowflakes, stars, or seasonal colors. For a year-end thank you, consider elegant fonts and simple decorations that highlight gratitude.
Next, choose the shape and size of your design. Rectangular labels are versatile and easy to print, but round or heart-shaped designs can add a more unique touch. Ensure the size fits well with the item you are attaching it to, whether it’s a small box, a potted plant, or a gift bag.
Pick colors that complement the occasion and the recipient’s preferences. For example, pastel shades work well for a spring-themed gesture, while bold, vibrant hues are perfect for celebrating achievements. If unsure, neutral tones like gold or silver can fit almost any context and add a classy touch.
Use typography to match the mood of the event. Script fonts convey elegance and personal warmth, while bold fonts give off a cheerful and casual vibe. Make sure the text is easy to read, especially for smaller labels. Keep the wording short and direct for clarity.
Incorporate a personal touch by adding the recipient’s name or a custom message. A simple “Thank you for all your hard work” can be very effective, or a heartfelt quote might add extra sentiment. This step transforms a generic label into a meaningful token of appreciation.
For extra flair, consider adding small graphic elements like flowers, stars, or even icons representing the recipient’s interests. A small apple for a gardening enthusiast, or a pencil for someone who loves writing, makes the design feel more personal and thoughtful.
Once your design is finalized, print on high-quality cardstock for durability. If you want to get creative, consider cutting the labels into shapes with scissors or a craft punch for a more polished look. Add twine, ribbon, or a decorative clip to complete the presentation and make it stand out.