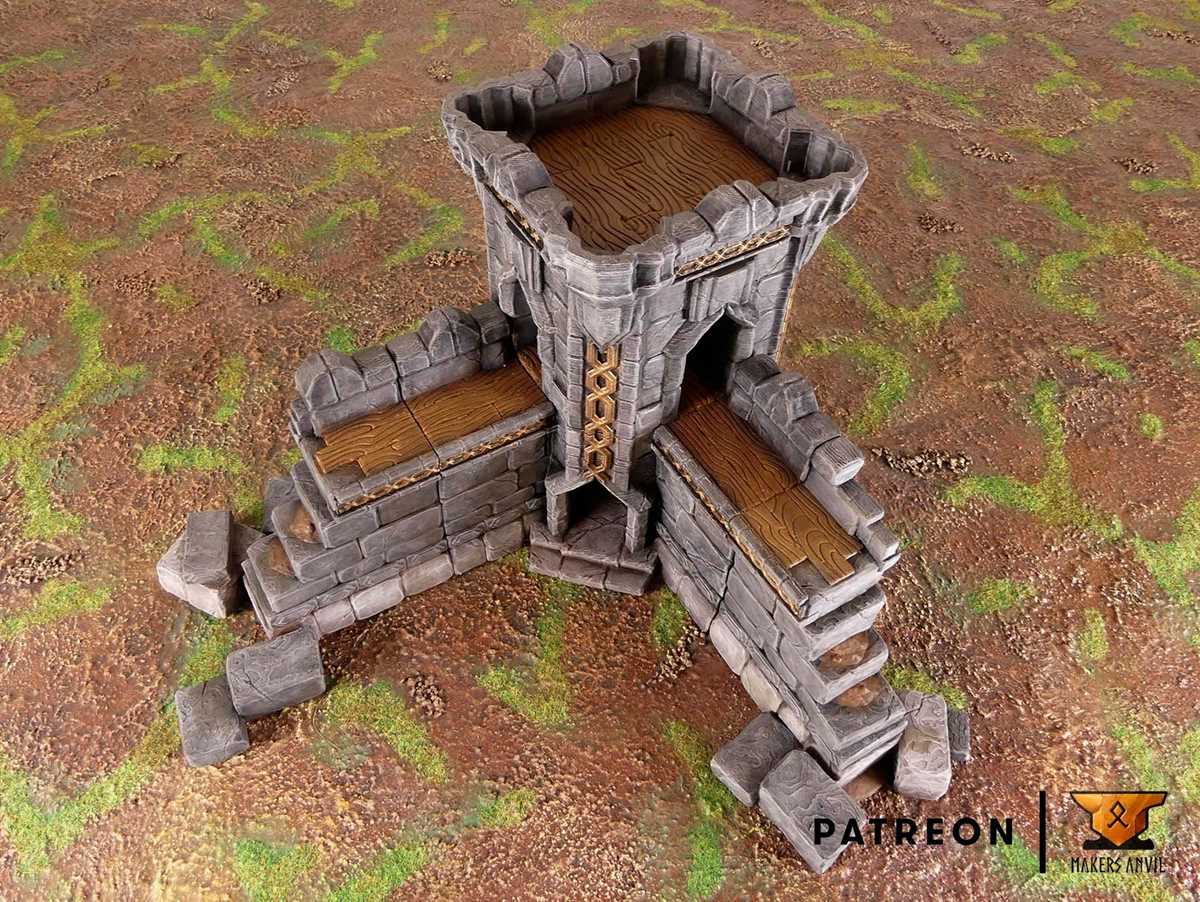
Choose a resin-based printer with a 0.05 mm layer height if your goal is crisp stone textures and sharp architectural edges for tabletop battle scenes. FDM machines can work for larger pieces such as hills or modular floors, but fine elements like masonry cracks or wooden planks lose definition above 0.12 mm. For most hobbyists, a hybrid workflow–resin for detail pieces and filament for bulk structures–delivers the best balance between cost and visual fidelity.
Scale consistency determines whether your set looks cohesive on the table. Standard 28–32 mm miniatures typically match a grid where one square equals 25 mm (1 inch). When preparing models in slicing software, verify that door heights fall near 32–38 mm and stair steps stay below 4 mm each; anything larger breaks visual proportion during play. Keeping these measurements consistent across ruins, buildings, and dungeon tiles prevents awkward mismatches during encounters.
Material choice also shapes durability. Standard grey resin captures detail well but chips under heavy handling, while ABS-like resin tolerates drops and repeated transport to game night. For filament builds, PLA+ offers smoother edges than basic PLA and warps less than PETG at typical hobbyist temperatures. Apply a matte primer before painting; it reveals surface flaws early and helps acrylic layers bond evenly to stonework, wood grain, and metal props.
Finally, organize files into modular sets rather than single large builds. Interlocking floor tiles, stackable walls, and magnet-ready bases reduce storage volume and speed up table setup. A well-planned collection grows piece by piece without forcing you to reprint entire structures, saving both material and time while expanding the visual depth of your tabletop adventures.
3D-Ready Tabletop Scenery: Practical Guide for Builders
Use modular pieces scaled to 28–32 mm miniatures and slice them at 0.12–0.2 mm layer height for clean stone and wood textures. Walls thicker than 1.6 mm resist warping on most FDM machines, while magnet slots (5×2 mm) allow fast reconfiguration between sessions. Keep individual tiles under 120×120 mm so they fit common build plates and reduce failed runs.
For reliable output, tune your machine with these baseline parameters:
- Nozzle: 0.4 mm brass for general work; switch to 0.25 mm only for fine masonry.
- Infill: 10–15 % grid for floors, 20 % for vertical structures that take handling.
- Walls/perimeters: minimum 3 lines to prevent brittle edges.
- Supports: tree-style only where overhangs exceed 55°; most dungeon props are designed support-free.
- Bed temperature: 55 °C for PLA, 70–80 °C for PETG to reduce corner lift.
Material choice affects durability at the table. PLA works for static dungeon rooms and scatter props, but PETG handles repeated packing and transport better. Resin machines capture sharper detail for statues and furniture, though parts require post-curing and careful handling. Many builders keep two material profiles ready:
- PLA matte gray – fastest runs, easy priming.
- PETG black – tougher clips and connectors.
- ABS – only if you have an enclosure and need heat resistance.
Paint in sub-assemblies rather than after full assembly; drybrush stone before gluing magnets to avoid clogging sockets. Label tile backs with a paint marker (room type or grid size) so setup takes minutes instead of sorting through identical pieces. Consistent storage–stackable bins with silica packs–keeps printed sets usable for years.
3D Printable DnD Terrain: Practical Guide for Tabletop Builders
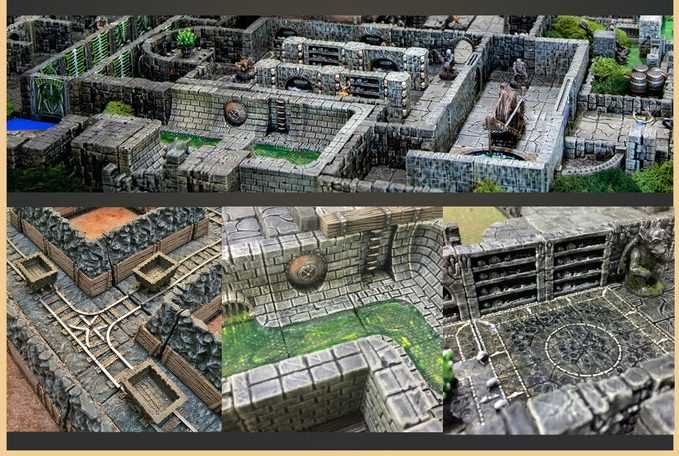
Use 0.12–0.16 mm layer height for most tabletop scenery pieces; this range balances surface detail and production time while keeping stone textures and wood grain readable at arm’s length. Pair this with a 0.4 mm nozzle and three wall perimeters to prevent fragile corners on walls, stairs, and scatter props. For filament choice, PLA+ handles fine detail well, while PETG suits parts that will be handled frequently such as doors, bridges, and modular connectors.
Model orientation affects both strength and cleanup workload. Place flat bases directly on the build plate to avoid support scarring on visible surfaces. For vertical features like pillars or ruined arches, tilt the model 20–30 degrees only if layer lines would otherwise weaken thin sections. Support density around 10–12% is usually enough; higher values waste material and increase post-processing time without noticeable gain. If a file includes built-in supports, inspect them in the slicer preview and remove redundant ones manually.
Scale consistency keeps your battle grid readable. Standard fantasy skirmish maps use 25–28 mm character scale, so floor tiles should measure exactly 25.4 mm (1 inch) per square. Before slicing, verify dimensions in your software and avoid auto-scaling features. Mixing pieces from different designers often creates mismatched door heights or stair steps; fix this early by creating a personal reference cube sized to your preferred grid and comparing every new model against it.
Paint preparation begins before the first coat. Wash finished parts with mild soap to remove release residue, then apply a filler primer if layer lines remain visible. Dry brushing works best on stonework, while wooden props benefit from a thin brown wash followed by a light tan highlight. Store completed set pieces in compartment boxes with silica packs to prevent warping in warm rooms. Consistent storage reduces repainting and keeps modular builds fitting tightly over time.
Choosing the Right STL Files for Specific DnD Encounter Types
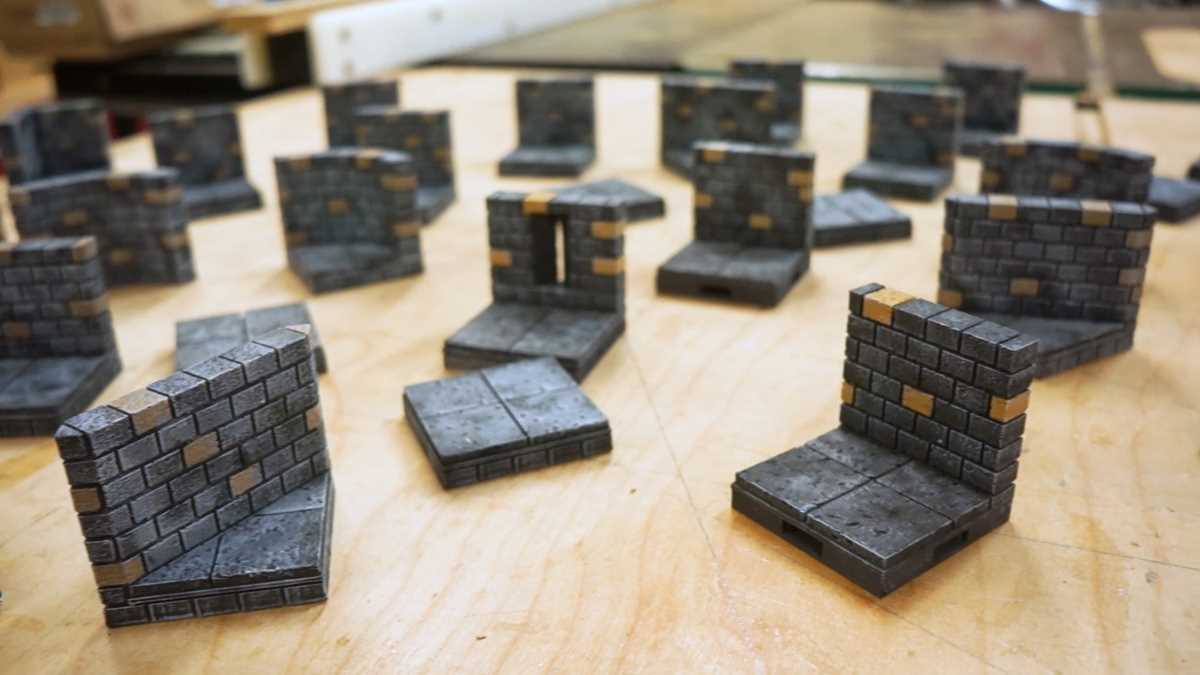
Select encounter files based on movement complexity first: tight dungeon fights require narrow corridors (25–32 mm width), while outdoor ambush scenes benefit from wide open tiles with scattered cover at 40–60 mm spacing. For boss battles, prioritize multi-level platforms with integrated line-of-sight blockers; these create tactical depth without overcrowding the map. Check mesh quality before downloading–clean manifolds, minimum wall thickness of 1.2 mm, and separated modular connectors prevent failed prints and misaligned assemblies.
Match file style to gameplay purpose: use low-detail scatter for random encounters to reduce production time; pick high-relief architectural sets for story climaxes where visual impact matters; choose magnet-ready modular kits for campaigns that reuse layouts weekly. Avoid oversized decorative bases that waste table space, and confirm that stair risers stay below 5 mm height so miniatures stand securely during play.