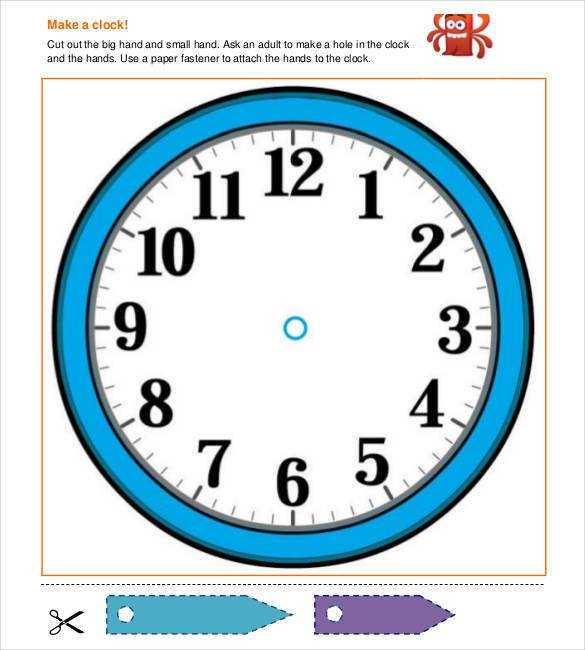
Use a clean circular time dial with clearly marked minute divisions (60 ticks) and bold hour numerals to teach reading and setting time with precision. Choose layouts that include separate movable hands or space to draw them, so learners can practice positions such as 3:45, 12:30, and 7:05 without visual clutter. A diameter of 15–20 cm provides enough room for accurate hand placement and number spacing.
Select designs that show both 12-hour and 24-hour markings when working with older students. Adding inner-ring numbers from 13 to 24 helps connect analog reading to military time. For early grades, use versions with highlighted quarter-hour segments and color-coded hour and minute indicators to reduce confusion between the shorter and longer hands.
Print on 160–200 gsm paper if the sheet will be reused with dry-erase markers or attached to cardboard backing. For interactive activities, laminate the circle and secure the hands with a brass fastener at the center point; pierce exactly at the intersection of the guide lines to maintain correct rotation. A 5 mm reinforced center hole prevents tearing during repeated manipulation.
Provide multiple formats: one with only tick marks for assessment tasks, another with prewritten times below the dial for matching exercises, and a third without numerals to train memory recall. When teaching elapsed time, include side grids where students calculate differences, such as from 2:20 to 4:05, writing step-by-step minute jumps (+40 min, +60 min, +5 min). This structured approach builds accuracy faster than passive reading drills.
For classroom display, enlarge the circular face to A3 size and keep line thickness at least 1.5 pt to maintain visibility from 3–4 meters. For individual desks, A4 or US Letter format with 1 pt lines is sufficient. Always verify that the hour markers align precisely at 30° intervals; small printing distortions can mislead learners during angle-based explanations of time.
Printable Blank Clock Templates for Teaching and Practice
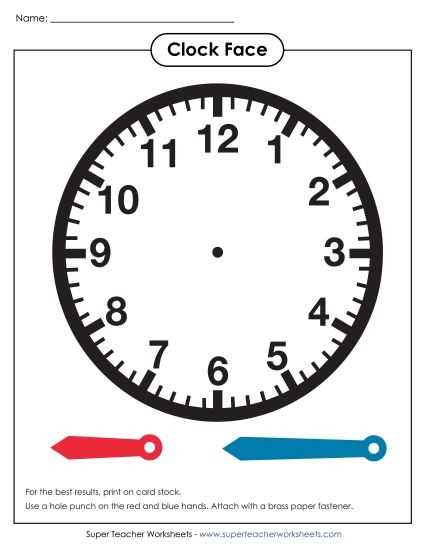
Use round time-dial worksheets with clearly marked minute intervals at 5-minute steps for primary grades and versions without numerals for assessment. For beginners, select sheets that include bold hour markers, a center pivot point, and separate movable hands printed on thicker stock (200–250 gsm) to attach with paper fasteners. For intermediate learners, choose layouts showing only tick marks for all 60 minutes to train precise reading such as 3:47 or 9:58. Provide sets in three difficulty levels:
- Dial with numbers 1–12 and highlighted quarter hours.
- Dial with minute ticks but no numbers.
- Empty face with only the circular outline for full recall practice.
Print at 100% scale on A4 or US Letter to maintain accurate proportions; the diameter should measure 15–18 cm for desk work and 25–30 cm for wall drills. Laminate copies or place them in dry-erase sleeves so students can draw hour and minute hands repeatedly using fine-tip markers. For group activities, prepare task cards listing specific times (e.g., 7:15, 12:30, 4:45, 10:08) and require learners to position hands with correct relative length–short pointer at 60–65% of the long pointer. Rotate exercises between reading, setting, and converting analog faces to digital notation to reinforce retention through varied repetition.
How to Select the Correct Printable Blank Clock Layout for Learning Hours, Minutes, and Time Intervals
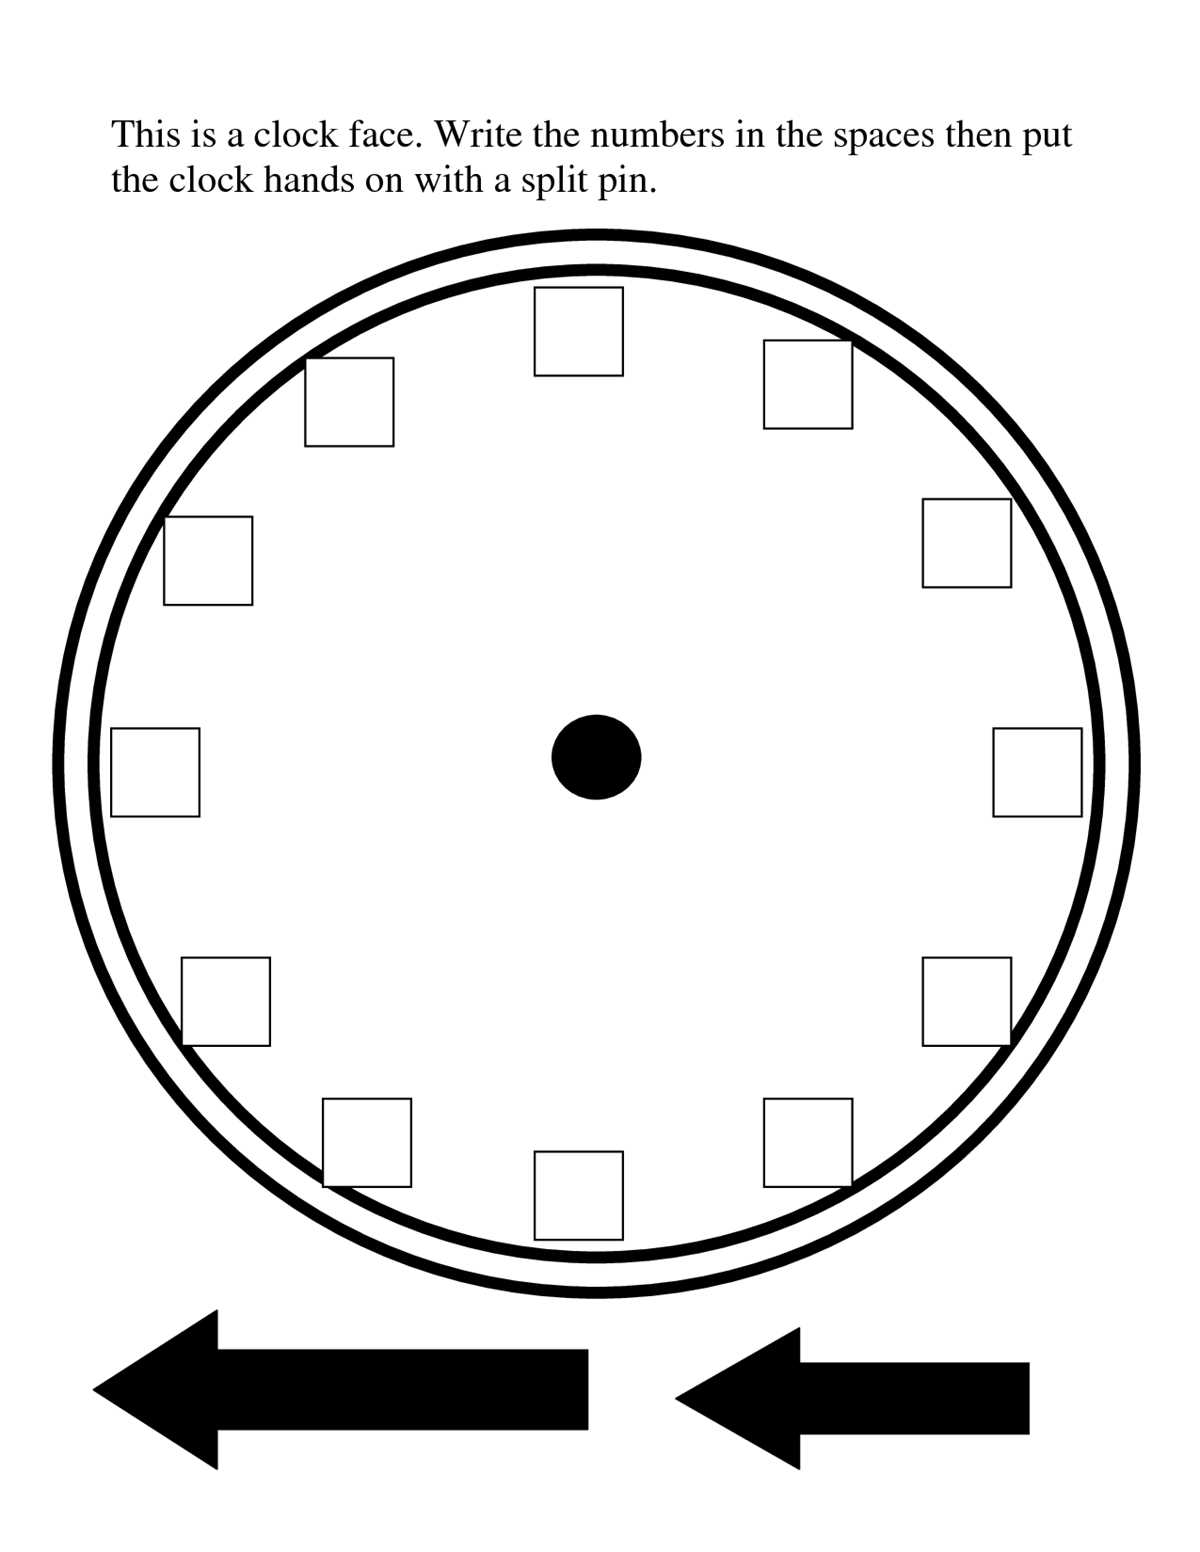
Choose a dial worksheet with clearly marked hour numerals from 1 to 12 and bold tick marks for each five-minute step if the goal is to teach basic hour recognition. Large numbers (minimum 24 pt when printed on A4) reduce visual strain for early learners, while thick perimeter lines (at least 1 pt stroke) help children trace positions accurately with pencils or markers.
For teaching minute reading, select a circular time face that includes 60 small divisions with longer markers at every fifth increment. Models that display minute numbers (5, 10, 15, up to 60) along the outer ring accelerate understanding of the relationship between hour and minute hands. Avoid designs without minute ticks, as students often misplace the longer hand between hour segments without clear guides.
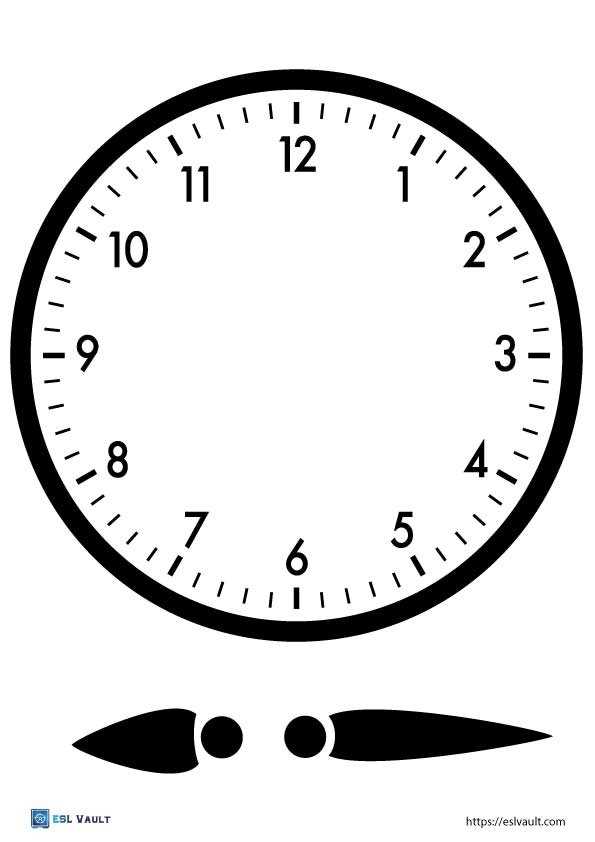
Use a version with movable paper hands attached by a metal fastener if the objective involves interactive practice. Hands should differ in length by at least 1.5–2 cm to visually reinforce their functions. Print on 160–200 gsm cardstock so repeated rotation does not tear the center hole after multiple adjustments during exercises.
For time interval tasks, pick layouts that provide multiple empty dials per page arranged in grids of four or six. This format supports comparison activities such as “30 minutes later” or “1 hour earlier” by allowing side-by-side positioning. Spacing between circles should be at least 1 cm to prevent overlapping when students draw extended hands.
Select simplified faces without numerals for assessment exercises focused on recall. Removing printed numbers forces learners to rely on spatial memory of positions. Pair this with a reference model shown separately so errors can be diagnosed based on number placement versus hand alignment.
When introducing half-hours and quarter-hours, choose designs that highlight 12, 3, 6, and 9 using slightly larger type or contrasting markers. Visual anchors improve accuracy in recognizing 15-minute increments. Avoid decorative backgrounds that distract from these key positions, especially for children under eight.
Adjust paper size and margin width according to the learning context: full-page single dials (18–20 cm diameter) work better for group demonstrations on a board, while smaller 8–10 cm versions fit homework sheets and reduce paper use. Match the layout scale to the learner’s motor skills; younger students benefit from wider spacing between tick marks to draw hands without crowding adjacent divisions.