If you want to personalize your storage solutions and make them stand out, start by designing unique templates for your organization systems. The first step is to choose the right materials that can hold up well, whether you’re using simple paper or more durable card stock. Consider the size and dimensions of your materials carefully to ensure that the designs fit perfectly, giving your notebooks and files a cohesive look. Make sure the paper you select is sturdy enough to handle repeated use without getting worn down.
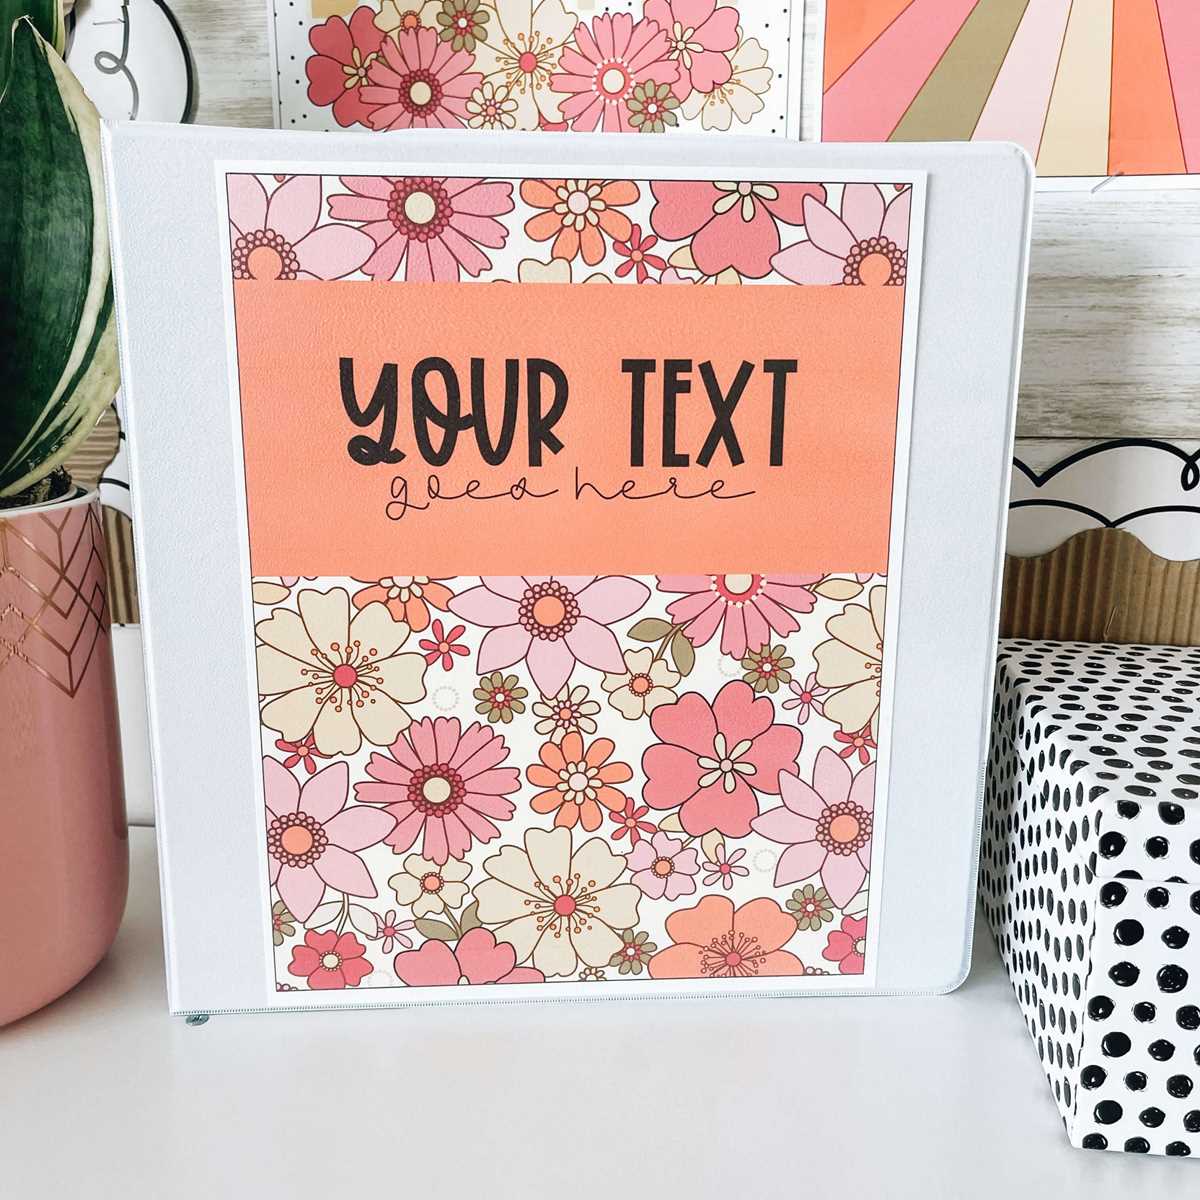
Once you’ve selected your materials, it’s time to think about colors and themes. Whether you’re going for a minimalist design or something more colorful and bold, ensure the style fits your personal or professional needs. Use software tools or online resources that provide customizable templates, where you can easily insert your desired text or graphics. This allows for a level of personalization that goes beyond generic options available in stores.
After you finalize your design, print it on the material you’ve chosen and consider laminating it for added durability. This process not only protects your design but also ensures that it remains fresh and readable over time. Laminated designs are perfect for high-use items, such as notebooks or organizational files that are constantly handled. Follow this guide to give your organizational items a professional touch with minimal effort.
Binder Covers Design Ideas and Customization Tips
For a professional and organized look, start by selecting a consistent color scheme that complements your office or study area. You can choose neutral tones for a minimalist approach or vibrant colors to add energy to your workspace. Pairing bold fonts with a clean background allows for clear labeling while maintaining a stylish appearance. Keep text readability in mind–avoid overly complex fonts and opt for simple, legible choices like sans-serif.
If you prefer a personalized touch, consider incorporating your initials or logo. This creates a custom design that sets your organization materials apart from others. Use an easy-to-read font for your name or title, ensuring it stands out without overwhelming the rest of the design. Positioning text in the center of the page can create balance, while aligning it to the top or side adds an interesting dimension.
Adding graphics to your designs can make them visually appealing. Opt for subtle accents like lines, icons, or geometric patterns that don’t distract from the main content. If you have a theme, such as animals or nature, small illustrations or icons can enhance the overall aesthetic. For example, a simple leaf motif in the corner of the design could tie together a nature-themed project.
For those who want to get more creative, try mixing textures in your design. A background pattern such as stripes, polka dots, or a chevron print can add depth. You can layer these textures with a translucent color block to keep your text prominent while maintaining visual interest. This technique works especially well for files and folders that will be frequently used or handled.
If you need to categorize multiple materials, incorporate tabs or sections into your design. A color-coding system helps keep different projects organized at a glance. For example, use one color for work-related materials, another for personal files, and a third for creative projects. Adding tab markers or section labels directly to the cover can make it easier to identify at a glance.
Laminating your design can protect your work and extend the lifespan of your materials. If you’re using paper or card stock, a simple laminate sheet will keep the covers looking new and intact. For added protection, consider adding a transparent pocket on the front to hold business cards or important notes. This feature is ideal for keeping essential information handy.
For a truly personalized look, take advantage of design software or online tools that offer customizable templates. These platforms let you upload your images or logos, adjust font styles, and experiment with layouts until you get the perfect design. Some tools also allow you to save your designs for future use, ensuring you can update your covers whenever needed without starting from scratch.
Lastly, consider the type of material you’re printing on. If you’re printing a cover that will be frequently handled, consider using thicker paper or card stock. For those who want a more durable solution, opt for a fabric cover or a rigid plastic sleeve that can be customized with your design. This ensures your design not only looks great but is also practical for everyday use.