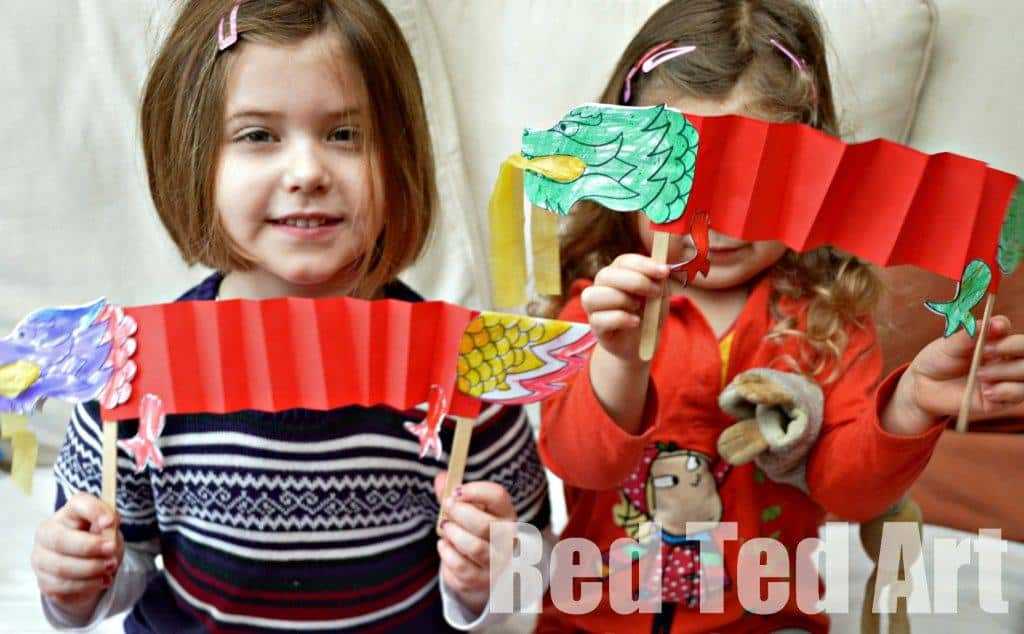
Start by selecting a template for a fun, movable character that kids can easily assemble. These simple designs are perfect for crafting projects at home or in the classroom. Print the template and cut out the pieces to get started on creating a fully interactive model.
Once the basic structure is assembled, kids can enhance their creation by adding colorful details. Use markers, paints, or colored pencils to decorate, giving each character a unique look. This process helps to develop fine motor skills and encourages creativity while keeping children engaged.
These crafts are ideal for storytelling or playtime. Incorporate them into lessons or use them as a fun activity during the holidays. The models can be animated using simple movements, allowing for interactive play that boosts imagination and problem-solving skills.
Creating an Interactive Paper Creature
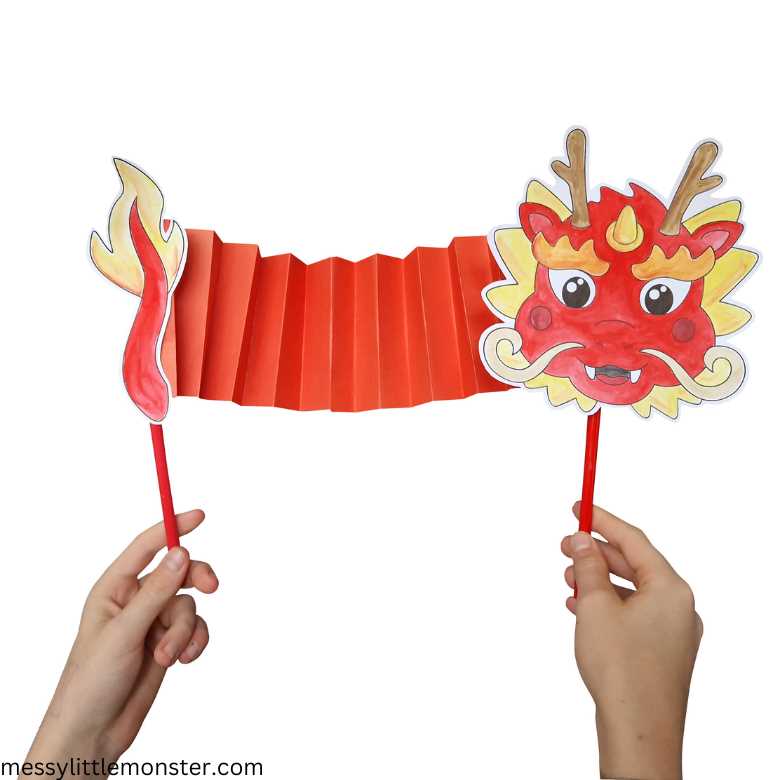
To begin, print out the chosen design and carefully cut along the edges. Use safety scissors for younger children, or let older kids handle it themselves. The assembly will help improve their fine motor skills while they create a movable figure they can interact with.
Once the parts are cut out, start by folding and gluing the sections together. Use a sturdy glue stick or liquid glue for stronger hold. Ensure all pieces align well so that the character holds its shape when moved. If needed, you can reinforce joints with small pieces of tape.
Decorating the character is where creativity can truly shine. Let the kids color in the details with markers, paints, or even glitter for extra fun. Encourage them to think about different patterns or textures, like adding scales, fire effects, or eyes, to give their creation a unique personality.
To make the figure more dynamic, create movable parts. For example, you can attach wings or arms with brads or small paper clips, so they can be rotated or flapped. This adds a level of interaction that will keep kids entertained for longer periods.
Once the crafting is complete, introduce the figure into playtime. This is a perfect opportunity for storytelling. The characters can be used to act out favorite books, create new adventures, or even become part of a puppet show. It turns a simple craft project into an interactive learning tool.
Incorporating these figures into educational activities can also be rewarding. For instance, you can use them to teach about different cultures or creatures in myths and stories. This can help kids make connections to history, literature, and creativity all through play.
If you’re using this as a group activity, consider having children work together to create a whole series of characters. This promotes teamwork and sharing, as each child can contribute different aspects of the design or decoration. It can also lead to collaborative storytelling or drama activities.
After the craft and playtime, consider using the characters in further classroom activities. They can serve as inspiration for writing exercises, such as creating stories or poems about the creature’s adventures, or even drawing pictures that expand on their new creations.
Step-by-Step Guide to Assembling a Paper Creature
Start by printing the template and carefully cutting out each part. Use safety scissors for younger children and guide them to avoid sharp edges. Cut along the dotted lines to ensure that the pieces fit together smoothly.
Next, fold the larger parts, such as the body or head, along the designated creases. This will help form the structure of the figure. Be precise with the folds to ensure that the final model stands firm and doesn’t lose its shape during assembly.
Now, begin attaching the body parts. Use a glue stick or liquid glue to secure the edges where the pieces meet. Apply glue evenly to avoid excess that may cause the paper to warp. Hold each part in place for a few seconds until the glue begins to set.
For movable parts, like wings or arms, use brads or small paper clips to attach them. This allows the parts to pivot and move, making the figure more interactive. Position the brads carefully so the parts can rotate smoothly without falling off.
Once the base structure is assembled, focus on decorating the figure. Use markers, crayons, or paints to add details such as eyes, scales, and texture. Allow each layer of decoration to dry before adding the next to avoid smudging.
Finally, test the figure’s movement by gently rotating the movable parts. If necessary, reinforce the joints with additional tape or glue to ensure stability. Once assembled, your interactive model is ready for play or display.