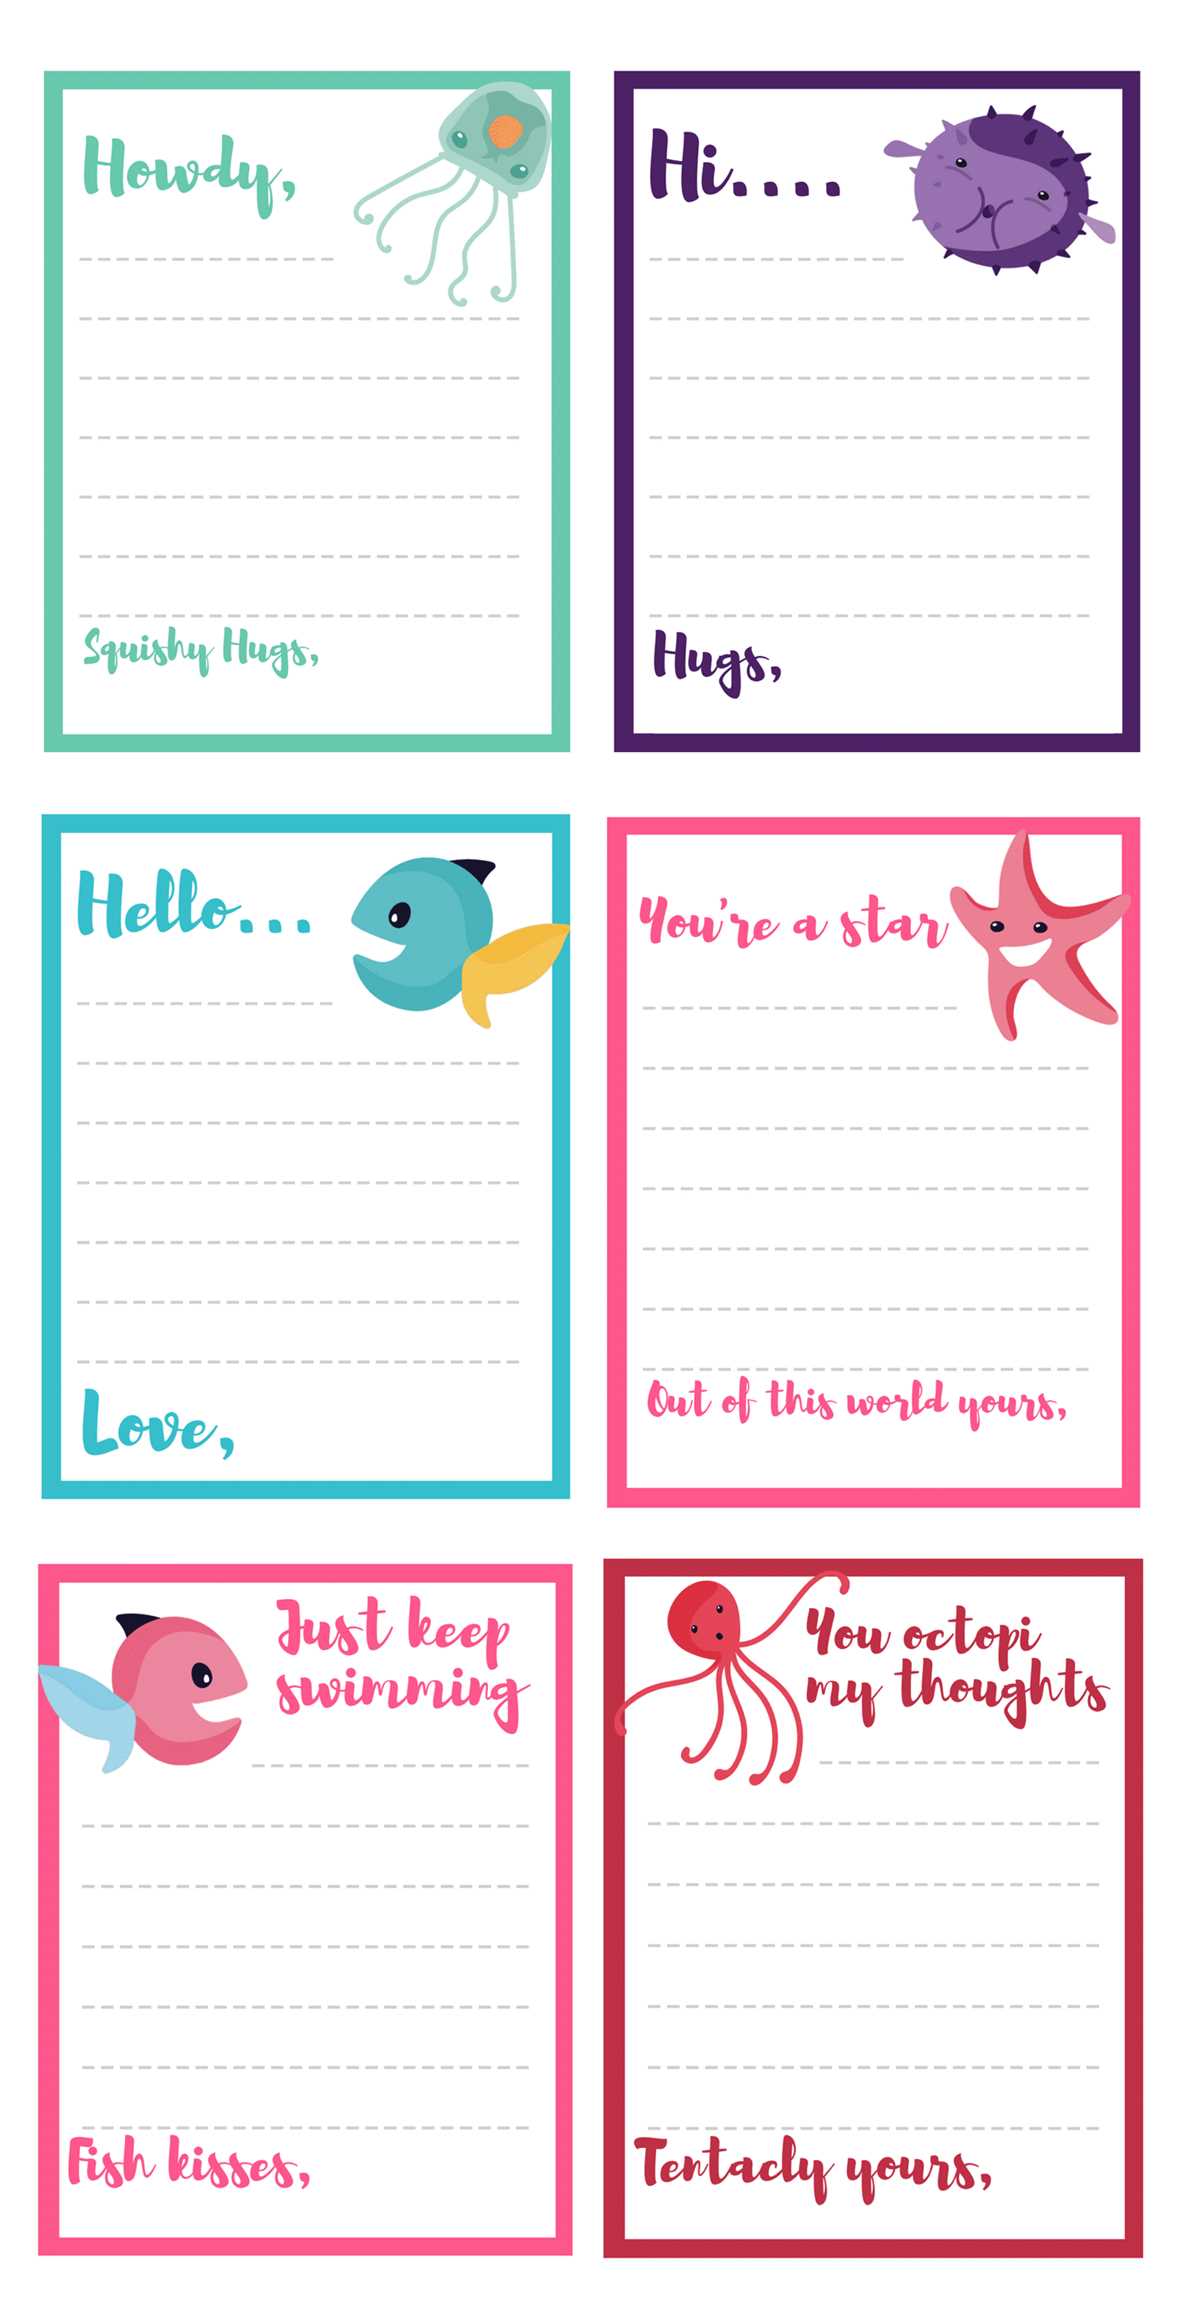
Select designs with a minimum resolution of 300 DPI before sending them to the printer–this single step prevents blurred text and washed-out graphics. For home use, A6 (105×148 mm) and A7 (74×105 mm) formats provide a balanced mix of portability and writing space. If the goal is quick reminders, prefer layouts with wide margins (at least 8–10 mm) to avoid trimming errors.
Paper weight directly affects usability. Sheets between 160–220 gsm hold ink without bleed-through and remain firm during handling. Matte stock works better for handwriting because it reduces smudging, while light satin finishes suit gift inserts or thank-you slips. Keep color coverage below 40% of the surface area to reduce ink consumption and speed up home printing.
Structured layouts improve readability. Use clear header zones, subtle grid lines at 4–6 mm spacing, and high-contrast fonts such as sans-serif families sized no smaller than 10–11 pt. When preparing files, export to PDF with crop marks enabled; this ensures clean edges after trimming and keeps every small memo sheet consistent across batches.
For repeated use, store finished pieces in labeled stacks by size and purpose–study prompts, quick messages, or gift inserts. Keeping batches under 50 pieces per stack prevents curling and maintains flat edges, which is especially helpful when feeding them through a home printer again for updates or personalization.
Choose thick matte stock of 200–250 gsm to prevent ink bleed and keep each small memo slip firm during handling. For home printers, set resolution to 300 dpi and maintain a 0.25-inch margin on all sides; this avoids edge clipping on most consumer devices. Standard sizes such as 3×5 or 4×6 inches fit well on A4 or Letter layouts, allowing you to place 4–6 pieces per page and reduce paper waste by up to 30%.
Use a restrained color palette–no more than three hues–to keep text readable under indoor lighting. Sans-serif fonts between 11–13 pt improve legibility for quick reference, while line spacing around 1.2–1.35 prevents visual crowding. Store finished pieces in a dry container at humidity below 60% to keep the stock flat and avoid curling.
Print-Ready Study Slips: Practical Guide for Design and Use
Design each small study slip with a clear visual hierarchy: place the heading at the top left, keep body text under 45 words, and leave at least 40% white space for handwritten additions. Align elements to a simple grid (two or three columns max) and export files in PDF format with embedded fonts to avoid substitution during printing.
For repeated classroom or office use, prepare a master sheet containing multiple duplicates and enable duplex printing only if the stock exceeds 220 gsm; lighter paper often shows shadowing. Keep finished pieces sorted by color bands or corner icons so users can identify topics within two seconds during quick review sessions.
Choose a sturdy 200–250 gsm cardstock before designing any small message sheets, because thin office paper (80–100 gsm) bends quickly and makes handwriting look uneven. For home printers, set resolution to at least 300 DPI and leave a 0.125-inch bleed on all sides to avoid white borders after trimming. These technical settings prevent wasted ink and reduce misalignment during batch printing.
Limit each layout to two font families and keep body text above 10 pt for readability on compact formats. Light pastel backgrounds consume up to 40% less ink than dark fills, which matters when producing large quantities. Use margin spacing of at least 0.4 inches so handwritten additions do not feel cramped.
Store finished sheets flat in a dry folder rather than stacking them loosely. Humidity above 60% can warp heavy paper within days, especially in home environments. Proper storage keeps edges sharp and preserves print clarity for later use.
Printable Note Cards: Practical Guide for Design and Use
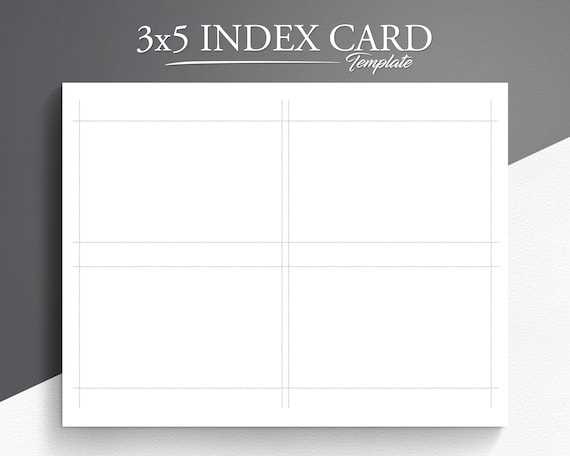
Use a 3.5 × 5 inch or A6 layout for most personal message formats because these sizes balance portability and writing space. Set inner padding to 8–10 mm and keep decorative elements at least 5 mm from the trim edge to avoid accidental cropping.
For professional-looking results, align text blocks to a consistent grid and export files in PDF/X-1a format before printing. Matte stock between 220 and 260 gsm works well for handwriting with gel or ballpoint pens, while coated surfaces suit laser output but may cause ink smearing with liquid pens. Test one sheet before producing large batches; minor printer shifts of even 1–2 mm can affect border symmetry and folding accuracy.
How to Choose the Right Paper Size and Card Dimensions for Printable Note Cards

Select the finished format first. Common practical sizes include A7 (74 × 105 mm), A6 (105 × 148 mm), and 4 × 6 inches. Smaller formats save paper, while larger ones provide more writing room.
Match sheet size to your printer tray. Most home devices handle:
- A4 (210 × 297 mm)
- Letter (8.5 × 11 inches)
- Legal (8.5 × 14 inches)
Design layouts that fit multiple pieces per page to reduce waste. For example, four A6 pieces fit cleanly on one A4 sheet with minimal trimming.
Account for bleed and safe zones. Use these baseline measurements:
- Bleed: 3 mm (0.125 in)
- Safe margin: 5–10 mm
- Trim tolerance: ±1 mm on home cutters
Ignoring these numbers often leads to uneven borders after cutting.
Consider folding requirements. If creating a folded message piece, set the flat size exactly double the final width. Example: a finished 4 × 6 inch folded piece should be designed at 8 × 6 inches with a scored center line.
Paper weight affects perceived quality and printer behavior. Use this quick guide:
- 160–190 gsm – lightweight handouts
- 200–250 gsm – balanced everyday use
- 260–300 gsm – premium feel, may require manual feed
Always check your printer’s maximum supported thickness before choosing heavy stock.
Run a physical test sheet and cut it before final production. Measure the result with a ruler; deviations above 1 mm signal scaling issues in printer settings. Disable “fit to page” and print at 100% size to keep dimensions accurate.
Store unused paper in its original packaging and allow it to acclimate to room conditions for at least two hours before printing. This step reduces curling and keeps feeding smooth during larger print runs.