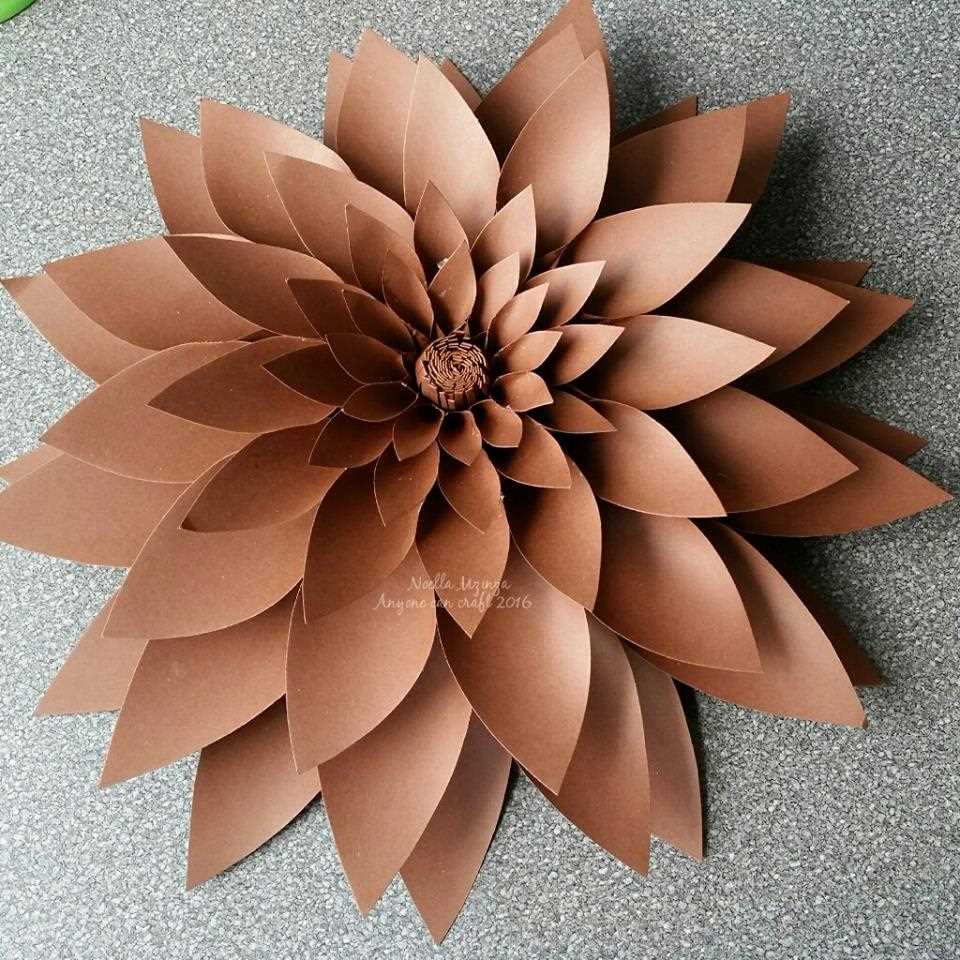
Choose vector-based cutout layouts in PDF or SVG format with clear fold lines and petal numbering to avoid alignment errors during assembly. Files designed at 300 DPI ensure sharp edges after printing, while layered SVG versions allow resizing without distortion. For home use, select designs calibrated for A4 and US Letter sheets with a minimum margin of 5 mm to prevent trimming loss.
Select cardstock between 160–250 gsm for structured petals that hold curvature without collapsing. For large wall compositions, use 200–220 gsm sheets; for small gift toppers, 160–180 gsm works better and folds more easily. If you plan to curl edges with a bone folder or round tool, lightly mist the backside to reduce cracking on darker stock.
Prioritize sets that include separate petal tiers, center spirals, and leaf elements on individual pages. This layout reduces waste and allows color variation by printing parts on different sheets. Petal sizes should increase by 10–15% per layer to create visible depth; avoid kits where size increments are less than 5%, as the dimensional effect becomes flat.
Use adhesive strategically: double-sided tape for flat bases, quick-dry tacky glue for raised layers, and foam pads (1–2 mm thickness) between tiers to enhance relief. For wall installations exceeding 25 cm in diameter, reinforce the base circle with an extra backing disc to prevent sagging.
For classroom or workshop use, pick simplified outlines with 5–8 petals per tier and minimal inner cuts. Advanced crafters can opt for intricate rose or peony-inspired silhouettes with serrated edges and multiple inner spirals, which typically require 20–40 minutes per bloom. Store unused cut sheets in a flat folder to prevent warping before assembly.
Test one small bloom before committing to bulk production. This trial run helps calibrate printer scaling (set to 100%, disable “fit to page”), check fold accuracy, and confirm color contrast under room lighting. Minor adjustments at this stage prevent material waste and uneven results in larger decorative arrangements.
For long-term displays, apply a light matte sealant spray at a 25–30 cm distance to protect from humidity and dust. Avoid glossy finishes on pastel stock, as they reflect light and reduce the sculpted shadow effect that gives depth to layered botanical forms.
Printable 3D Paper Flowers Template for Realistic DIY Decorations
Choose layered petal layouts with clearly marked fold lines and glue tabs to achieve lifelike volume; files designed for 160–220 gsm cardstock hold curved shapes without collapsing and maintain crisp edges after scoring. Select sets that include at least three petal sizes per bloom and a separate sepal layer to create depth, and verify that the guide indicates exact scaling (100%, 125%, 150%) so you can match finished diameters from 8 to 25 cm for wall installations or table accents.
For natural curvature, cut petals with micro-serrated scissors, curl edges around a 6–10 mm dowel, and shape the base with a bone folder before assembling from the smallest layer outward. Use fast-grab tacky adhesive applied in 3–4 mm dots along the tab to avoid warping, and offset each tier by 15–20 degrees to prevent stacked symmetry. Add dimension by lightly inking edges with pigment pads one shade darker than the sheet color; a single pass creates subtle shadow without streaking. Stamens can be formed from 80 gsm strips fringed at 1 mm intervals and rolled tightly, secured with a 2 mm bead of glue for a dense center.
Plan compositions by mixing bloom sizes in a 3:5 ratio (three large to five medium per 1 m² backdrop) and vary petal counts–5, 8, or 12–to mimic botanical diversity. Mount finished pieces on 1–2 mm foam spacers for floating relief, or attach to 0.8 mm floral wire wrapped in matte tape for bouquet arrangements. Store flat cutouts in zip sleeves labeled with scale and color code to speed up batch production for events.
How to Choose the Right Printable 3D Paper Flowers Template by Petal Shape, Skill Level, and Final Size
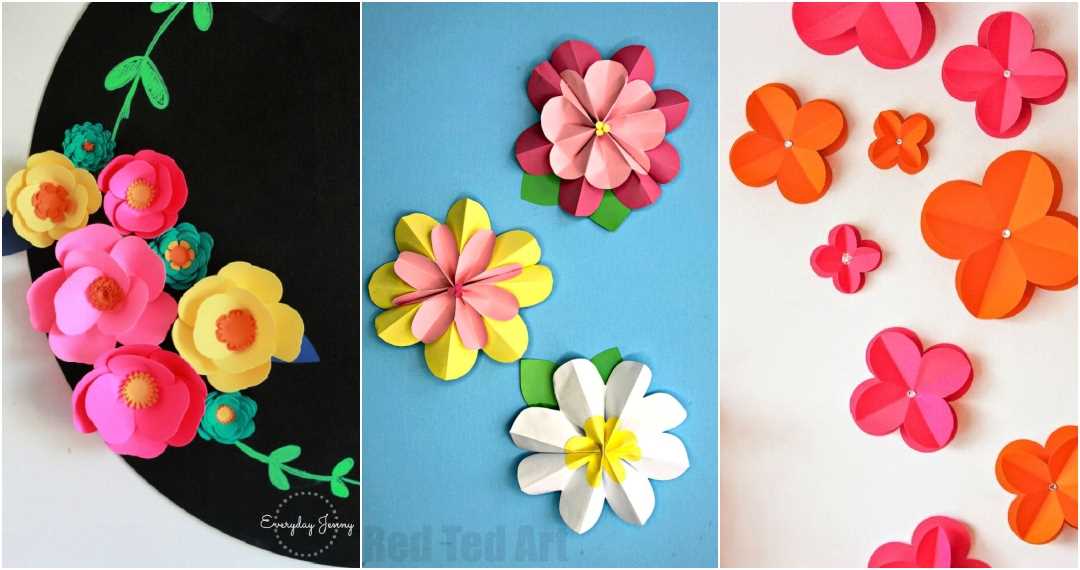
Select the petal silhouette first, because it determines both assembly method and visual impact. Rounded, overlapping forms with 6–8 wide lobes suit layered blooms similar to peonies and hide glue points well; they require precise edge curling but tolerate minor cutting errors. Long, narrow segments with sharp tips create star-like blossoms and demand accurate scoring along the center line to avoid creases. Spiral-cut designs formed from a single continuous strip assemble faster yet require tight rolling control to prevent gaps at the core.
Match the pattern complexity to the maker’s experience. For beginners, choose designs limited to 3–4 layers with clearly numbered parts and fold guides; petal counts between 12 and 18 per bloom keep cutting time under 20 minutes. Intermediate crafters can handle 5–7 layers, mixed petal sizes, and separate sepal pieces, typically totaling 25–40 elements. Advanced builders may opt for multi-component builds exceeding 60 cut pieces, including wired centers and staggered depth offsets that create pronounced dimensional relief.
Check the intended finished diameter before printing any sheet. Small accents (5–8 cm) work for greeting cards and gift toppers and require lightweight stock between 120–160 gsm to prevent bulk. Medium blossoms (12–18 cm) fit wall arrangements and hold shape well at 180–220 gsm. Large statement pieces above 25 cm demand reinforced bases or double-layered petals; scale tests at 100% and 125% ensure tabs still align after resizing.
Evaluate how petal curvature is achieved. Designs that rely on simple edge curling with a wooden dowel are faster but produce softer contours. Patterns that include score lines for valley and mountain folds create sharper geometry and need a blunt scoring tool for clean ridges. If heat shaping is recommended, confirm the material tolerates low-temperature embossing without discoloration.
Finally, review layout efficiency on each sheet: dense nesting of shapes reduces material waste by up to 30%, while mirrored halves can simplify symmetrical builds. Choose files that provide both outlined and filled cutting guides so you can switch between manual cutting and plotter use without redrawing paths.